
Stone Patio Installation: A Practical Guide to Building a Durable, Beautiful Outdoor Space
Why Choose a Stone Patio?
A stone patio adds timeless beauty and long-term value to your home. Natural stone, flagstone, and pavers withstand weather, resist fading, and create a high-end look that complements most landscapes. Whether you want a cozy seating area, an outdoor dining space, or a path that connects garden features, a well-installed stone patio can transform your yard into an extension of your living area.
Planning Your Stone Patio
Assessing the Site
Start by evaluating sunlight patterns, drainage, and how the space will be used. Look for utility lines and tree roots that could interfere with excavation. Sketch the patio footprint and measure dimensions carefully to estimate materials and costs.
Choosing Materials
Common options include flagstone, bluestone, limestone, and manufactured pavers. Natural stone offers unique color variations and a premium look, while concrete pavers can be more budget-friendly and uniform. Consider durability, slip resistance, thickness, and the style you want to achieve.
Design and Size Considerations
Think about traffic flow and furniture placement. A dining area generally needs at least 10×12 feet, while a seating area can be comfortable at 8×8 feet or larger. Add curves or geometric edges to match your landscape aesthetic.
Tools and Materials You’ll Need
- Shovel, wheelbarrow, and rake
- Plate compactor or hand tamper
- Landscape fabric and edging material
- Crushed stone or gravel for base and sand for bedding
- Natural stones or pavers and jointing material (polymeric sand or mortar)
- Level, string line, and rubber mallet
- Protective gear: gloves, safety glasses, and kneepads
Step-by-Step Stone Patio Installation
1. Mark and Excavate
Outline the patio with stakes and string or spray paint. Excavate to a depth that accommodates the base, bedding, and stone—typically 6 to 10 inches below finished grade for pedestrian patios. Ensure a slight slope (about 1/8 to 1/4 inch per foot) away from the house for drainage.
2. Create a Stable Base
Install landscape fabric to reduce weed growth. Add 3–6 inches of crushed stone or gravel and compact it with a plate compactor. For heavier pavers or high-traffic areas, use a thicker base. A well-compacted base prevents settling and keeps stones level over time.
3. Add a Bedding Layer
Spread a 1-inch layer of coarse sand or stone dust over the compacted base. Screed the sand to create a smooth, even surface. This bedding permits minor adjustments as you set stones and helps lock them into position.
4. Lay the Stones
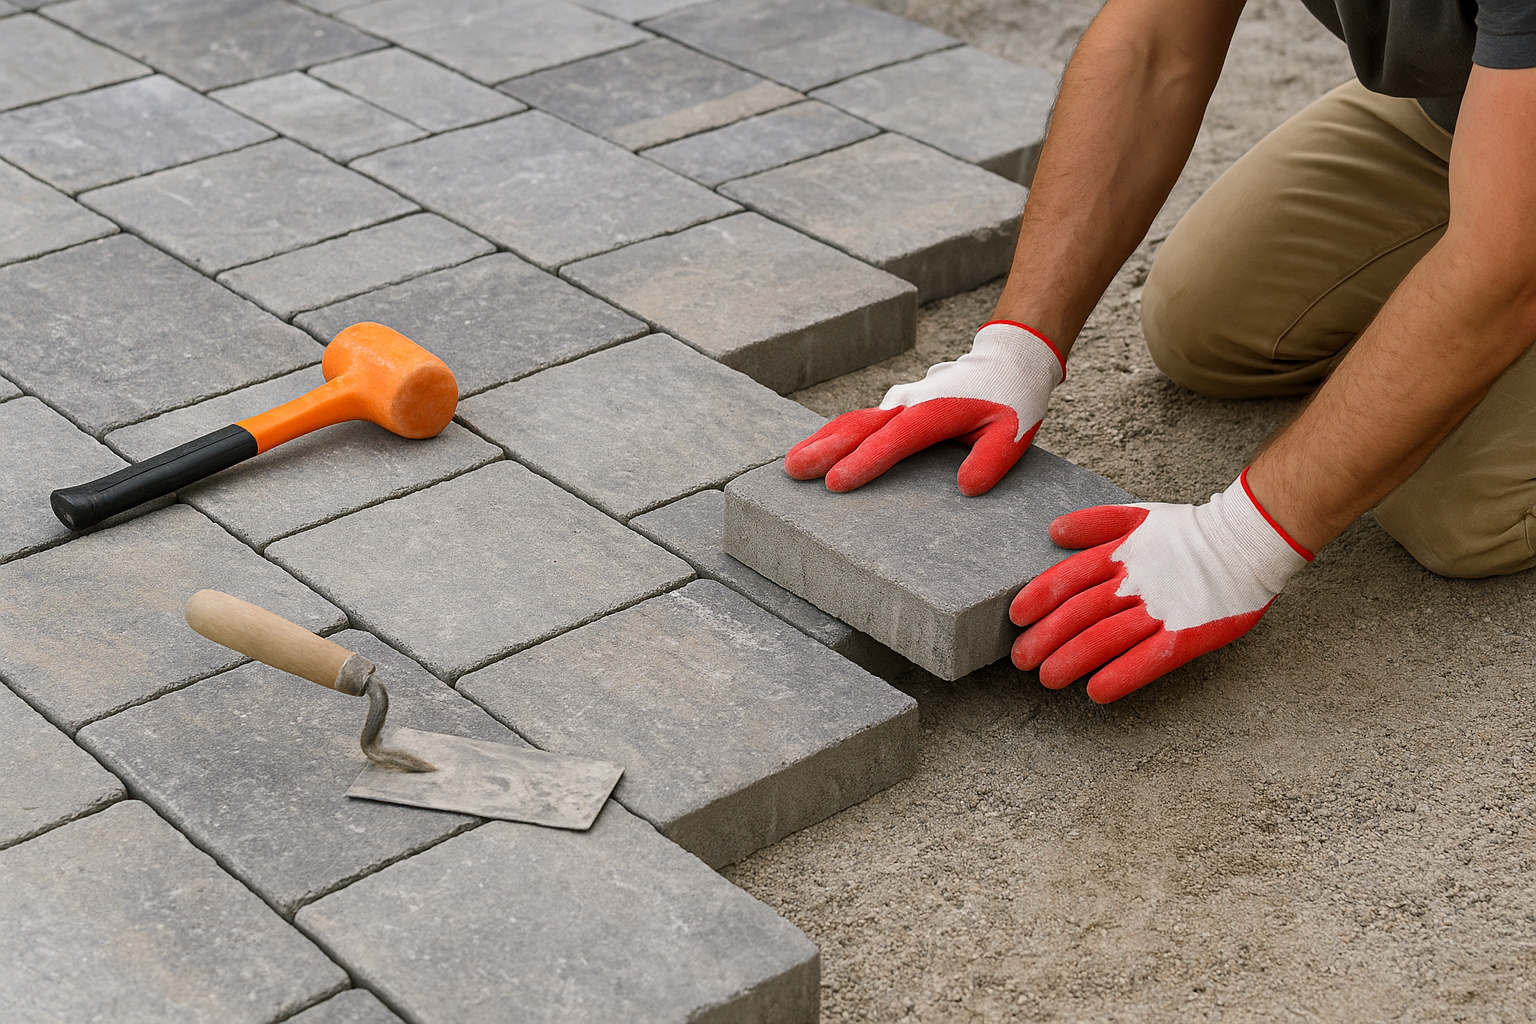
Start from a straight edge or a corner and work outward. Place each stone on the bedding, tapping gently with a rubber mallet to seat it. Maintain consistent joint widths—tight joints suit natural flagstone, while pavers may require uniform gaps for sand or polymeric jointing.
5. Fill Joints and Compact
Brush polymeric sand or jointing sand into the gaps, or use mortar for dry-set flagstones in vertical joints. Compact the patio surface with the plate compactor (cover stones with a protective mat if using delicate natural stone) and reapply joint material as needed.
6. Finish and Seal
Clean the surface of any remaining sand or mortar. Apply a sealer if desired to enhance color and protect against stains—test on a small area first. Allow proper curing time before using the patio.
Maintenance and Care
Routine Cleaning
Sweep regularly to remove debris. For stains, use a mild detergent and a soft-bristle brush or a pressure washer on a low setting for more durable surfaces. Reapply jointing sand after winter freeze-thaw cycles if joints settle.
Repairs and Seasonal Tips
Replace cracked stones individually to avoid large repairs. In colder climates, avoid de-icing salts on natural stone; use sand for traction instead. Inspect edging and base periodically to catch settling early.
DIY vs. Hiring a Professional
DIY installation can save money and be rewarding, especially for smaller patios and straightforward layouts. However, professionals bring experience with grading, drainage, and specialized equipment needed for large or complex projects. Get multiple quotes, check references, and review portfolios when considering a contractor.
Common Mistakes to Avoid
- Skimping on base material—this causes sinking and uneven stones.
- Not allowing proper slope—poor drainage leads to water damage.
- Using the wrong joint material—choosing mortar where flexible jointing is needed or vice versa.
- Neglecting edging—without a sturdy edge, stones can spread and settle.
Conclusion
Stone patio installation is a smart investment that enhances outdoor living and adds lasting curb appeal. With careful planning, the right materials, and attention to base preparation and drainage, you can create a durable, beautiful patio that suits your lifestyle—whether you tackle it yourself or hire a pro. Enjoy the process and the outdoor space you build.