Patio Pavers Installation: A Complete Guide to Building a Durable Outdoor Patio
Installing patio pavers is one of the most rewarding DIY landscaping projects. With the right planning, tools, and techniques you can create a durable, attractive outdoor space that adds value to your home. This guide walks you through everything from choosing paver types to long-term maintenance so your patio looks great for years.
Planning Your Patio Pavers Project
Choosing the Right Pavers
Start by picking a paver material that suits your style and budget. Common options include concrete, brick, and natural stone. Concrete pavers are cost-effective and come in many shapes and colors. Brick offers a classic, warm look, while natural stone (like slate or travertine) provides a high-end, organic appearance. Consider slip resistance, thickness (typically 60–80 mm for patios), and the local climate when deciding.
Measuring and Designing
Sketch your patio layout and measure the area carefully. Allow for furniture, walkways, and drainage. A good rule: add 5–10% extra pavers to account for cuts and future repairs. Think about pattern and scale—herringbone gives strength for driveways, while running bond or basket weave work well for patios.
Tools and Materials You’ll Need
Materials
- Pavers (plus extra for cuts/spare)
- Crushed stone or gravel (base)
- Coarse sand (bedding layer)
- Polymeric sand or joint sand
- Edge restraints
- Landscape fabric (optional for weed control)
- Sealer (optional)
Tools
- Tape measure and stakes/strings
- Shovel and wheelbarrow
- Plate compactor (can rent)
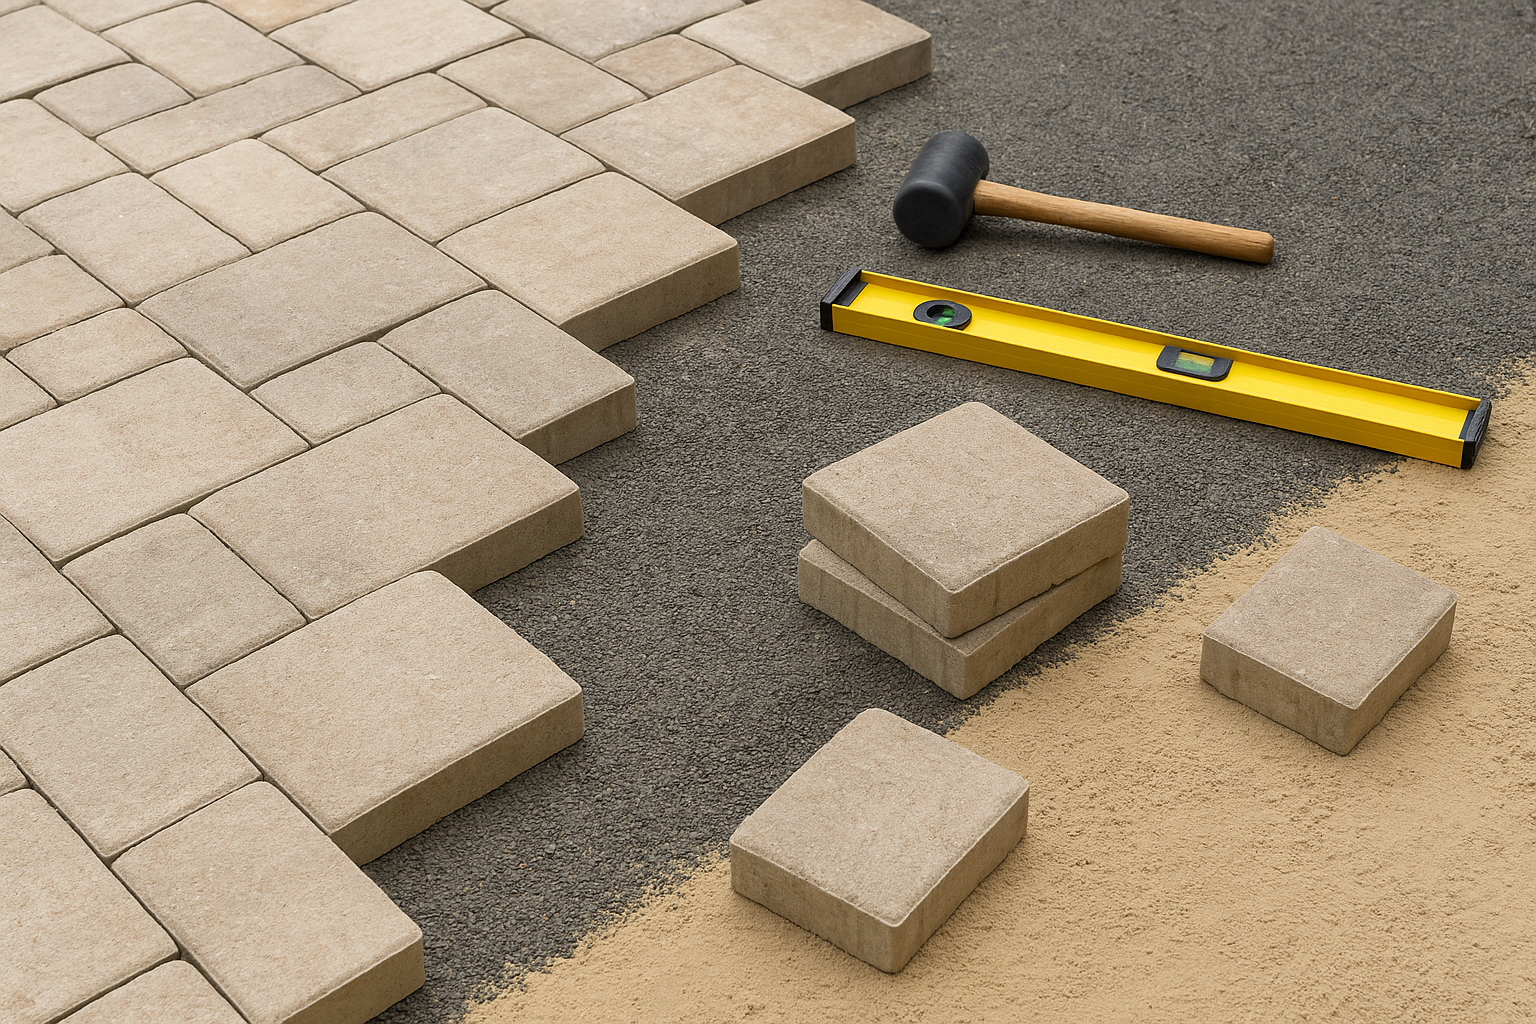
- Level and rubber mallet
- Mason’s saw or paver splitter for cuts
- Broom and leaf blower
Step-by-Step Installation Guide
1. Prepare the Site
Mark the patio perimeter and remove turf and topsoil to the required depth: generally 6–8″ for pedestrian patios, more if you expect heavy loads. Ensure the subgrade is firm and slopes away from the house at about 1/8″–1/4″ per foot for drainage.
2. Lay the Base and Edge Restraints
Install landscape fabric if desired, then add a 4–6″ layer of crushed stone or gravel. Compact in multiple passes with a plate compactor until stable. Set edge restraints—plastic, metal, or concrete—to keep the pavers from shifting; secure them with spikes and make sure they follow the slope and lines of your design.
3. Set the Bedding Sand
Screed a 1″ layer of coarse sand over the compacted base. Use two screed rails and a straight board to get a uniform, level bedding layer. This sand provides a small adjustment layer for the pavers.
4. Laying Pavers
Begin at a straight edge and lay pavers in your chosen pattern, working outward. Keep consistent joint spacing (usually 1/8″–3/8″) and tap pavers into place with a rubber mallet. Check frequently with a level and string line to maintain flatness and alignment.
5. Joint Sand and Compaction
After all pavers are laid, sweep joint sand or polymeric sand into the joints. Then compact the surface with the plate compactor (use a protective mat if required by the paver manufacturer). Add more sand and compact until joints are fully filled and stable.
6. Sealing and Finishing
Consider sealing pavers to enhance color, reduce staining, and stabilize joints. Choose a sealer compatible with your paver material and follow manufacturer instructions. Clean the surface thoroughly before application.
Common Mistakes to Avoid
- Skipping proper base preparation—this leads to settling and uneven pavers.
- Using the wrong sand or failing to compact—weak joints cause movement.
- Neglecting edge restraints—without them pavers can spread under load.
- Overlooking drainage—standing water shortens paver life and attracts weeds.
Maintenance Tips for Longevity
Regular maintenance keeps your patio looking great: sweep often to remove debris, replenish joint sand as needed, and power-wash occasionally to remove stains and algae. Reapply sealer every few years depending on wear and manufacturer guidance. Address any shifted or sunken pavers promptly by lifting and resetting the affected area.
When to Call a Professional
DIY installation can save money, but professionals bring experience for complex layouts, poor drainage issues, or installations requiring heavy equipment. If you’re unsure about subgrade conditions, local code requirements, or want a custom pattern with tight tolerances, a contractor can ensure a long-lasting result.
Conclusion
Patio pavers offer flexibility, beauty, and durability for outdoor living spaces. With proper planning, solid base work, and attention to detail during installation, you can build a patio that enhances your home and stands up to the elements. Whether tackling it yourself or hiring a pro, focus on foundation, drainage, and quality materials for the best outcome.