
Retainer Wall Installation: A Step-by-Step Guide for Durable, Attractive Walls
Introduction
Installing a retainer wall transforms a sloped yard into usable landscape, prevents erosion, and adds curb appeal. Whether you’re building a small garden wall or a large structural retaining wall, careful planning and proper installation are essential for longevity. This guide walks you through the key steps, materials, common pitfalls, and maintenance tips to help you get the job done right.
Planning and Design Considerations
Assess the Site
Start by evaluating the slope, soil type, and water flow. Identify utilities by calling your local services before digging. Take note of existing trees and structures that might affect wall placement.
Choose the Right Wall Type
Pick a wall type based on height, load, and aesthetic goals:
- Gravity walls rely on mass (stone, concrete block) and are suitable for lower heights.
- Cantilever walls use a reinforced concrete base and are good for taller, structural needs.
- Segmental block walls interlock without mortar and are popular for residential projects.
- Anchored or tied-back walls use soil anchors for very tall or heavily loaded situations.
- Gabion or sheet piling are options when dealing with poor soils or specialized designs.
Permits and Engineering
Check local building codes. Most jurisdictions require permits for walls above a certain height (often 3–4 feet). For walls that retain significant loads, consult a structural engineer to design foundations, reinforcement, and drainage.
Materials and Tools
Common materials include concrete blocks, natural stone, gravel, perforated drain pipe, geotextile fabric, geogrid, and backfill. Essential tools are a level, plate compactor, shovel, wheelbarrow, masonry saw, and safety gear.
Step-by-Step Installation
1. Excavation and Base Preparation
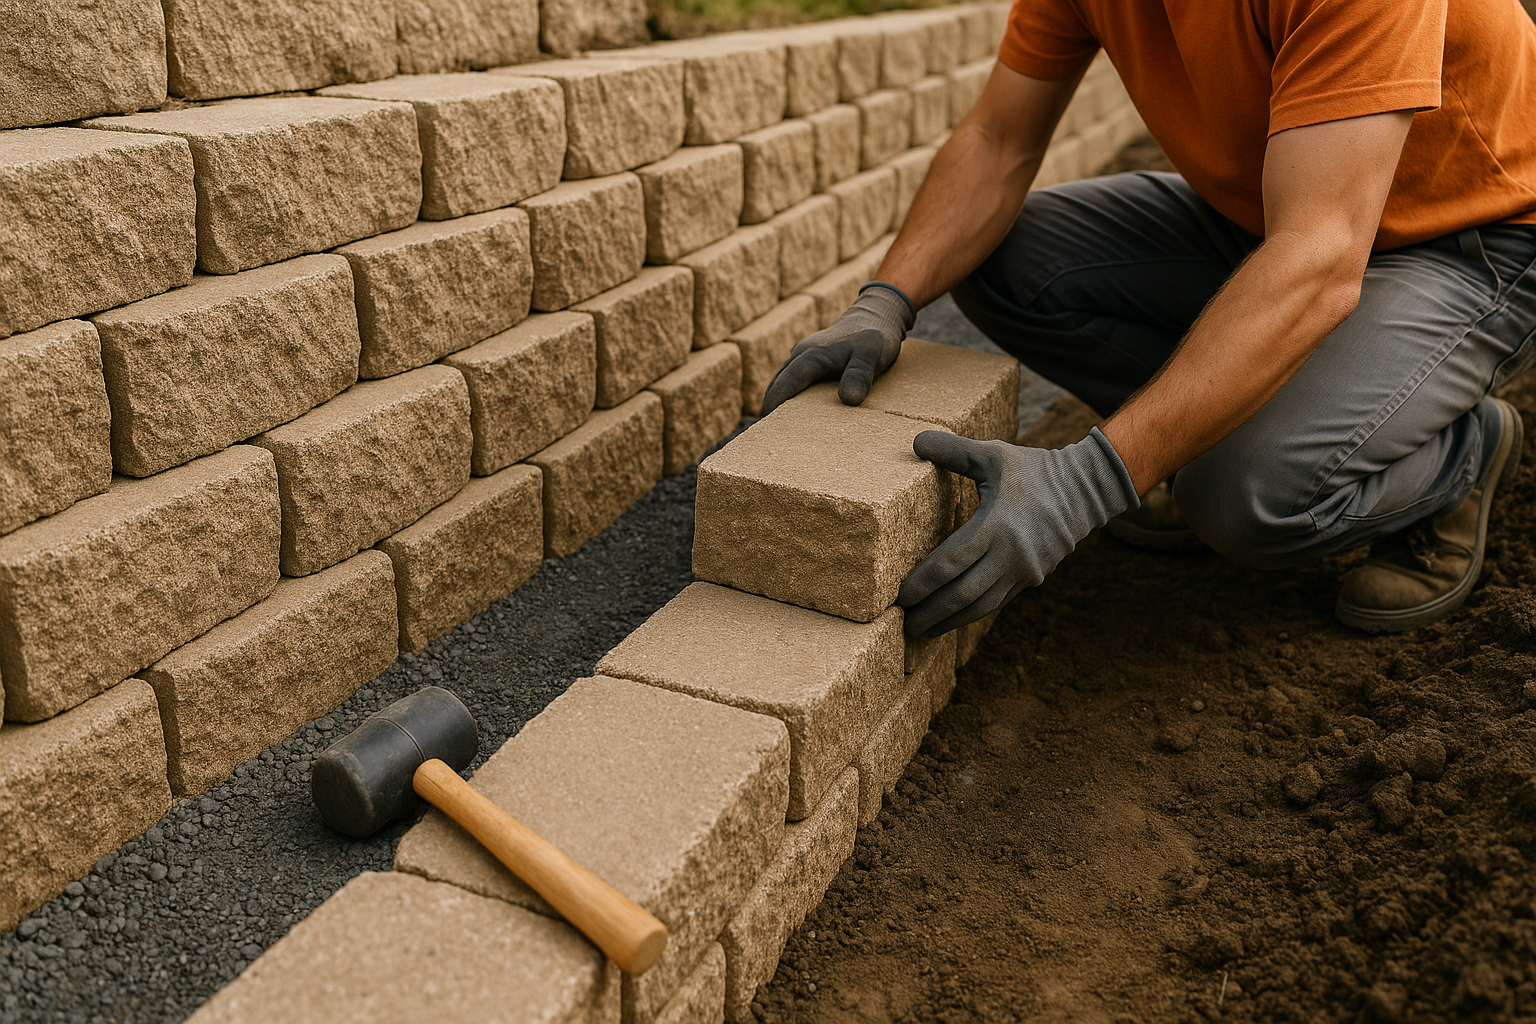
Mark the wall line and dig a trench deep enough to accommodate the base material and the first course of blocks. For many segmental block walls, a compacted 4–6 inch gravel base plus a 6–12 inch compacted footing is standard. Slope the base slightly for drainage away from structures if applicable.
2. Install Drainage
Good drainage is vital. Lay a perforated drain pipe at the base of the wall, wrapped in filter fabric, and pitch it to an outlet. Place clean crushed stone behind the wall and around the pipe to encourage water flow and prevent hydrostatic pressure build-up.
3. Lay the First Course Properly
The first course sets the entire wall. Use a string line and level to ensure each unit is plumb and level. Compact and re-check frequently. For heavier walls, mortar or pins may secure the first blocks.
4. Backfilling and Reinforcement
Backfill in 6–8 inch layers and compact each layer. For taller walls, use geogrid reinforcement extending into the retained soil per engineering specifications. Always keep geotextile fabric between the backfill and native soil to prevent fines migration.
5. Building Up and Cap Installation
Stagger joints as you build and step the wall into the slope if necessary. Install capstones with construction adhesive or mortar to finish the top. For a clean look, cut blocks to fit corners and curves.
Safety and Best Practices
- Wear safety gear: gloves, eye protection, and steel-toed boots.
- Avoid building near utility lines; have them marked first.
- Never compromise on drainage—most wall failures are due to poor water management.
- When in doubt about structural requirements, consult a licensed engineer.
Common Mistakes to Avoid
- Insufficient base compaction causing settling and leaning.
- Omitting or undersizing drainage and perforated pipe.
- Using the wrong backfill—avoid clay and fine silt directly behind walls.
- Ignoring local codes and permit requirements for taller walls.
Maintenance Tips
Regularly inspect for settlement, cracks, or bulging. Keep drainage clear of debris and vegetation. Reapply or repair capstones and mortar joints as needed. Small repairs early can prevent costly rebuilds later.
Cost Considerations
Costs vary widely: a simple garden wall could be a few hundred dollars in materials, while engineered retaining walls can run into the thousands or tens of thousands depending on height, materials, and site complexity. Labor and any required engineering or permits add to total costs.
When to Hire a Professional
Hire a contractor when the wall is taller than local code thresholds, when soil conditions are poor, or when the wall supports structures or heavy loads. A professional can handle excavation, engineered design, and ensure drainage and reinforcement are correctly implemented.
Conclusion
Retainer wall installation is a mix of good planning, proper materials, and careful construction. Pay attention to drainage and base preparation, choose the right wall type for your needs, and consult professionals for structural or complex projects. With the right approach, your wall will protect your landscape and enhance your property for years to come.