
Patio Installation Process: A Step-by-Step Guide
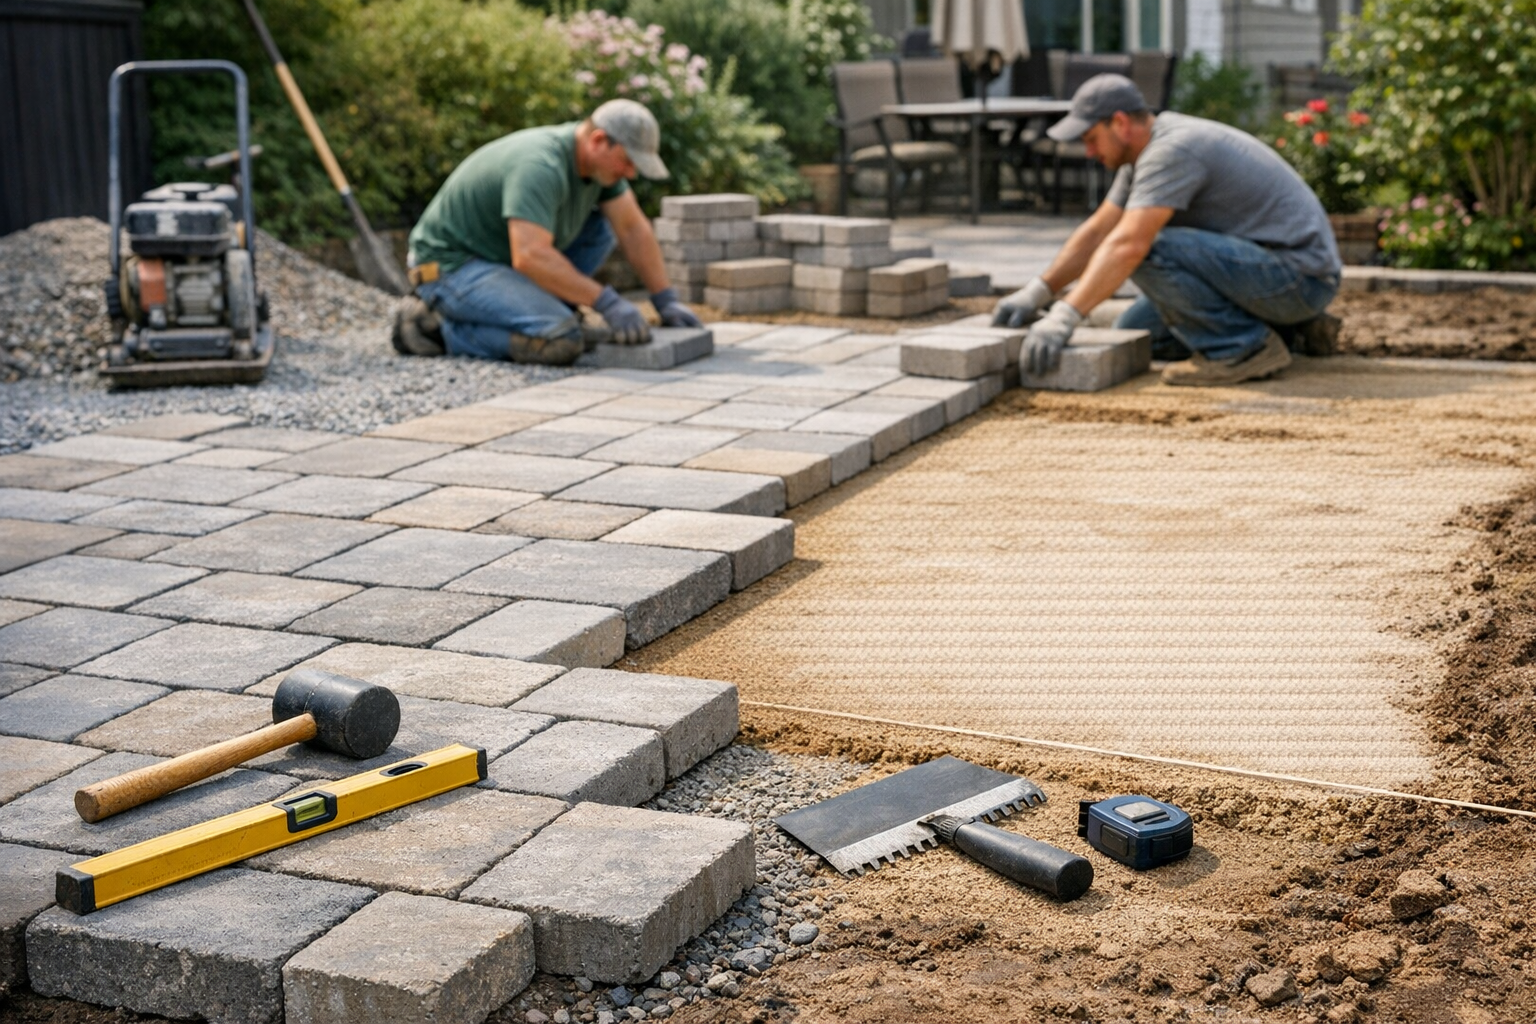
A new patio can turn an underused patch of yard into a comfortable place to dine, relax, and entertain. Knowing what happens during patio installation makes it easier to plan your project, choose materials, and avoid common problems such as uneven pavers or poor drainage. While details vary by patio type and local conditions, most installations follow a similar sequence: planning, site preparation, building a stable base, installing the surface, and finishing the details.
Here’s a practical guide to the patio installation process, from the first measurements to the final cleanup.
1. Plan the Patio and Choose Materials
Begin by deciding how you want to use the space. A dining area may need room for a table and chairs, while a lounge patio should leave enough clearance to move comfortably around furniture. Measure the proposed area and mark its outline with stakes and string or a garden hose. Check how the shape fits with doors, paths, planting beds, and existing features.
Next, select a surface material. Concrete pavers are available in many shapes and colors and are relatively straightforward to repair. Natural stone offers variation in color and texture, while poured concrete creates a continuous surface that can be finished in several ways. Brick is another classic option. Consider appearance, maintenance, climate, accessibility, and budget—not just the price of the material itself.
Check Permits, Utilities, and Drainage
Before digging, check local building requirements and homeowners association rules, if applicable. Contact the appropriate utility locating service to mark buried lines. Also look at how rainwater moves across the yard. The finished patio should direct water away from the house rather than toward its foundation. A qualified installer can help determine suitable grading and whether additional drainage is needed.
2. Mark and Excavate the Site
Once the layout is finalized, the installation area is marked clearly. The crew removes grass, roots, soil, and other material until the space reaches the planned depth. Excavation depth depends on the patio material, the thickness of the base, soil conditions, and expected use. A patio that will support heavier loads may need a different base design from a small seating area.
Careful excavation matters because the surface will only be as stable as the ground beneath it. Soft spots, organic material, and loose soil should be addressed before construction continues. The ground is then shaped to establish the intended slope for water runoff. Measurements are checked along the way to help ensure the finished patio sits at the right height beside doors, steps, or adjoining paths.
3. Install and Compact the Base
For many paver and stone patios, a compacted aggregate base provides strength and helps limit shifting. The material is spread in layers, and each layer is compacted with appropriate equipment. Compacting gradually is more reliable than placing the entire base at once, especially where the soil is prone to settling.
The installer checks the surface for consistent height and slope as the base is built. Depending on the design and ground conditions, the project may also call for a geotextile fabric, a drainage layer, or other measures to improve performance. The right approach is site-specific, so there is no single base depth or construction method that suits every patio.
Why Compaction Matters
A poorly compacted base can lead to dips, loose pavers, and uneven joints over time. Good compaction creates a more uniform foundation that distributes weight and supports the finished surface. It’s one of the least visible parts of patio installation, but it has a major effect on durability.
4. Add Edge Restraints and Lay the Surface
For paver patios, edge restraints help hold the layout in place and prevent the outside rows from spreading. After the restraints are secured, the installer begins laying the pavers or stones according to the selected pattern. Lines are checked regularly so the rows remain consistent and the pattern stays square or follows the planned curves.
Pieces along borders and around obstacles may need to be cut to fit. These cuts are measured carefully to keep the finished edges neat. When the surface is in place, it is usually compacted using equipment suited to the chosen material. Protective methods may be used when needed to reduce the risk of damaging or marking the surface.
For poured concrete, the process differs: forms are set, the concrete is placed and finished, and control joints are added to help manage cracking. The concrete then needs time to cure. Follow the installer’s guidance on when the patio can be walked on or furnished, because curing and access times vary with weather and product specifications.
5. Fill Joints and Complete the Finishing Work
On a paver patio, joint material is swept into the gaps between units. This helps lock the surface together and can reduce weed growth and movement. The exact jointing product depends on the design, paver type, and site conditions. It may be necessary to add more material after the first settling period, so ask what maintenance the installer recommends.
Finishing work may include cleaning the surface, tidying disturbed soil, restoring nearby lawn or garden beds, and checking transitions to steps or walkways. The crew should confirm that water flows in the intended direction and that there are no loose or unusually uneven sections. If sealing is part of the project, confirm the correct product and application timing for the installed material.
How Long Does Patio Installation Take?
The schedule depends on the patio’s size, material, layout, access to the yard, and weather. A simple project may take a few working days, while a larger or more detailed installation can take longer. Excavation, drainage improvements, complex cuts, and concrete curing can all affect the timeline. Ask for a written project schedule and clarify what conditions could cause delays.
Tips for a Successful Patio Project
- Choose a practical size that leaves enough room for furniture and clear walking paths.
- Confirm utility locations before excavation begins.
- Discuss grading and drainage with the installer before work starts.
- Ask which base and jointing materials will be used and why they suit your site.
- Get care instructions for cleaning, sealing, and replacing individual pieces.
Conclusion
A lasting patio starts with thoughtful planning and careful ground preparation. By understanding each stage—from excavation and base compaction to surface installation and finishing—you can make informed choices and know what to expect. With suitable materials, proper drainage, and skilled installation, your patio can become a useful, welcoming part of your home for years to come.