
DIY Landscape Lighting: A Step-by-Step Guide to a Brighter Yard
Why Add DIY Landscape Lighting?
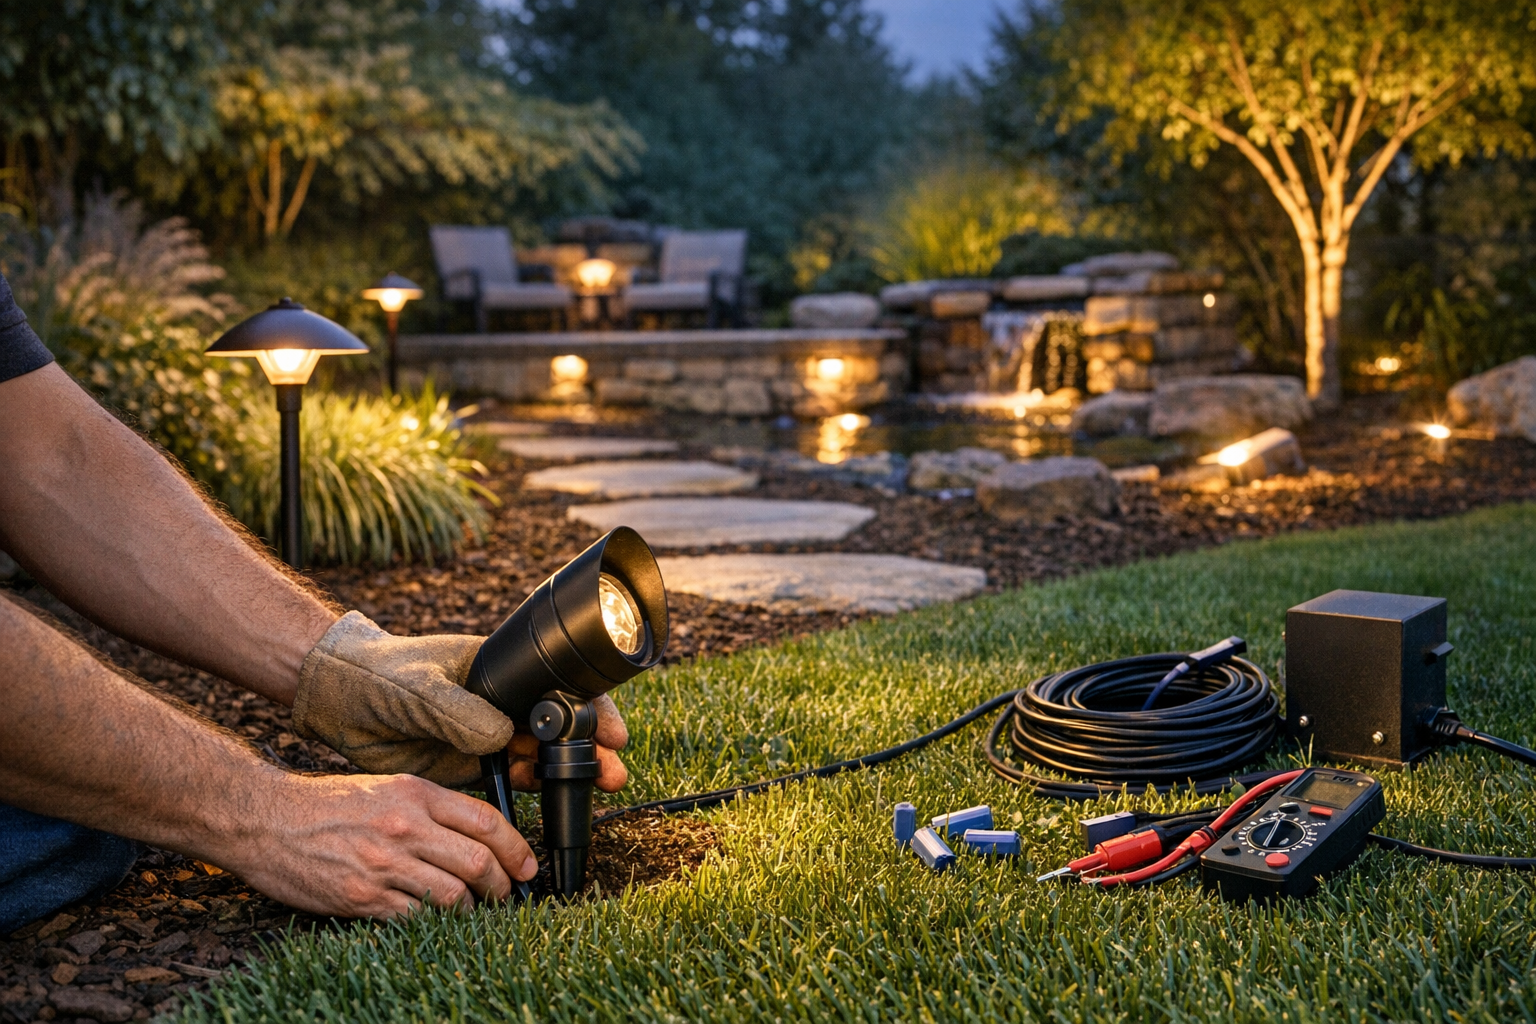
Thoughtful landscape lighting can make your yard safer, more welcoming, and more enjoyable after sunset. It can highlight a favorite tree, illuminate a walkway, or create a comfortable glow around a patio. The good news is that many homeowners can handle a DIY landscape lighting project with basic tools and a little planning.
For a first project, consider a low-voltage system. These setups use a transformer to reduce standard household power to a safer 12 volts, and they’re typically simpler to install than line-voltage lighting. Always follow the product instructions and local electrical codes, especially when connecting equipment to an outdoor outlet.
Plan Your Landscape Lighting Design
Before buying fixtures, walk around your property at dusk. Notice where you need better visibility and which features you’d like to show off. A quick sketch of your yard can help you map fixture locations, cable routes, the transformer, and the nearest outdoor GFCI-protected outlet.
Choose What You Want to Light
Start with a few key areas rather than trying to illuminate the entire yard. Common priorities include entry steps, paths, driveways, patios, and changes in elevation. You might also highlight a specimen tree, garden bed, stone wall, or water feature. Lighting that serves a clear purpose usually looks more polished than fixtures scattered without a plan.
Layer Light for a Natural Look
Use different types of light to create depth. Path lights can guide people along a walkway, while spotlights can draw attention to a tree or architectural detail. Well lights sit in the ground and can cast light upward, and deck or step lights provide a subtle glow where people walk or gather.
Avoid placing identical path lights in a perfectly straight line on both sides of a path. Staggering them often feels more natural and helps reduce glare. Aim lights carefully, too: the goal is to see the illuminated feature, not stare into the bulb.
Choose Fixtures, Cable, and a Transformer
Look for outdoor-rated fixtures designed for landscape use. Materials such as brass, copper, and quality outdoor-grade composites can handle exposure better than indoor fixtures. Check the product’s weather rating and choose a light color temperature that suits your space. Warm white light often creates a relaxed, inviting effect, while cooler light can look brighter and more modern.
The transformer converts household power to low voltage and may include a timer, photocell, or smart controls. Select one with enough capacity for the total wattage of your lights, while leaving room for future additions. Add up the wattage listed for each fixture and compare that total with the transformer’s rated output. Don’t exceed the manufacturer’s recommended load.
Use cable intended for low-voltage outdoor landscape lighting. Cable size and maximum run length affect voltage drop, which can make fixtures at the far end look dimmer. Follow the transformer and cable manufacturer’s guidance for your layout. For larger or more complex yards, a professional can help check the design before you install it.
Install Your DIY Landscape Lighting
1. Test the Layout Above Ground
Set the fixtures in their planned locations before burying any cable. Connect the system according to the instructions and switch it on after dark. Move lights around until the coverage and direction look right. This simple test can save time and help you avoid unnecessary digging.
2. Connect the Transformer and Cable
Mount the transformer in a protected location near an appropriate outdoor outlet, following the required clearances and installation directions. Keep connections weather-resistant and use connectors rated for low-voltage landscape systems. Before digging, contact your local utility locating service to mark buried lines. Even shallow cable trenches can intersect existing utilities, irrigation pipes, or other services.
3. Position Fixtures and Bury the Cable
Place fixtures on stable ground and angle them so they light the intended area without shining into windows or neighbors’ yards. Route cable along the planned path, avoiding sharp bends and spots where it could be cut by garden tools. Bury it at the depth recommended by the manufacturer and local requirements. Keep cable accessible where needed for future adjustments, and don’t bury connections unless they’re specifically designed for that use.
4. Test the System at Night
Turn on the lights after installation and inspect the yard from several viewpoints. Adjust fixture positions and beam angles to reduce dark patches, distracting glare, and overly bright spots. Set timers or photocells so the system runs when you need it without staying on all night.
Common Landscape Lighting Mistakes to Avoid
- Overlighting the yard: Too many fixtures can flatten the landscape and create glare. Begin with fewer lights and add more only where needed.
- Ignoring voltage drop: Long cable runs and undersized wire can cause uneven brightness. Plan cable size and layout using the manufacturer’s recommendations.
- Pointing lights at eye level: Aim beams at plants, walls, or walking surfaces rather than directly at people.
- Skipping outdoor safety checks: Use outdoor-rated components, a suitable GFCI-protected outlet, and weather-resistant connections. Hire a licensed electrician if any part of the work involves household wiring or you’re unsure about safe installation.
Maintain Your Landscape Lighting
Check your lighting a few times each year, and after severe weather. Clean lenses, remove leaves and mulch from fixtures, trim plants that block the beams, and look for damaged cable or loose connections. Confirm that timers and photocells still work as expected. If one light is noticeably dimmer than the others, inspect its connection and check whether the cable run or load is affecting performance.
LED fixtures are a popular choice because they use less energy than many traditional bulbs and usually need less frequent replacement. Even so, outdoor fixtures benefit from occasional cleaning and adjustment as plants grow and the yard changes.
Conclusion
A well-planned DIY landscape lighting project can improve visibility and bring out the best features of your yard. Start with a simple low-voltage design, choose outdoor-rated equipment, and test fixture placement before burying cable. With careful installation and occasional maintenance, your landscape can feel safer and more inviting long after the sun goes down.