
How to Install a Retaining Wall: A Step-by-Step DIY Guide
Introduction
Installing a retaining wall (sometimes called a retainer wall) is one of the most impactful landscaping projects you can take on. A well-built wall controls erosion, creates usable terraces, and adds curb appeal. This guide walks you through planning, materials, step-by-step installation, and common pitfalls so you can build a durable wall that looks great.
Planning and Design
Assess the site
Start by evaluating the slope, soil type, drainage patterns, and any utilities. Mark property lines and note where water naturally flows. Steeper sites and clay soils need more robust design and drainage. For walls over 3 feet high, consult a structural engineer or local building department — many jurisdictions require permits and engineered designs.
Choose the right materials
Common options include concrete blocks, natural stone, stacked stone, timber, and poured concrete. Concrete block systems designed for retaining walls are popular for DIYers because they interlock and often include provisions for geogrid reinforcement. Choose materials for both structural performance and the look you want.
Check permits and regulations
Before digging, contact your local building department and call utility-locating services. Permits may be required for walls above a certain height, and setback or drainage rules can affect placement.
Tools and Materials
- Shovel and pick
- Plate compactor or hand tamper
- Level and string line
- Measuring tape and stakes
- Gravel/road base for the base
- Drain pipe (perforated) and filter fabric
- Concrete block, stone, or timber materials
- Construction adhesive or block connectors (if required)
- Geogrid (for taller walls)
- Wheelbarrow and gloves
Step-by-Step Installation
1. Prepare the site
Lay out the wall line with stakes and string. Excavate a trench for the base, typically 6 inches deeper than your first course’s height plus room for a compacted gravel base. For small garden walls, a base depth of 6–8 inches is common; larger walls will need deeper footings.
2. Create a solid base
Fill the trench with 4–6 inches of crushed stone or road base. Compact the base in 2-inch lifts until it is firm and level. A stable, well-compacted base prevents settling that leads to leaning or bulging.
3. Lay the first course
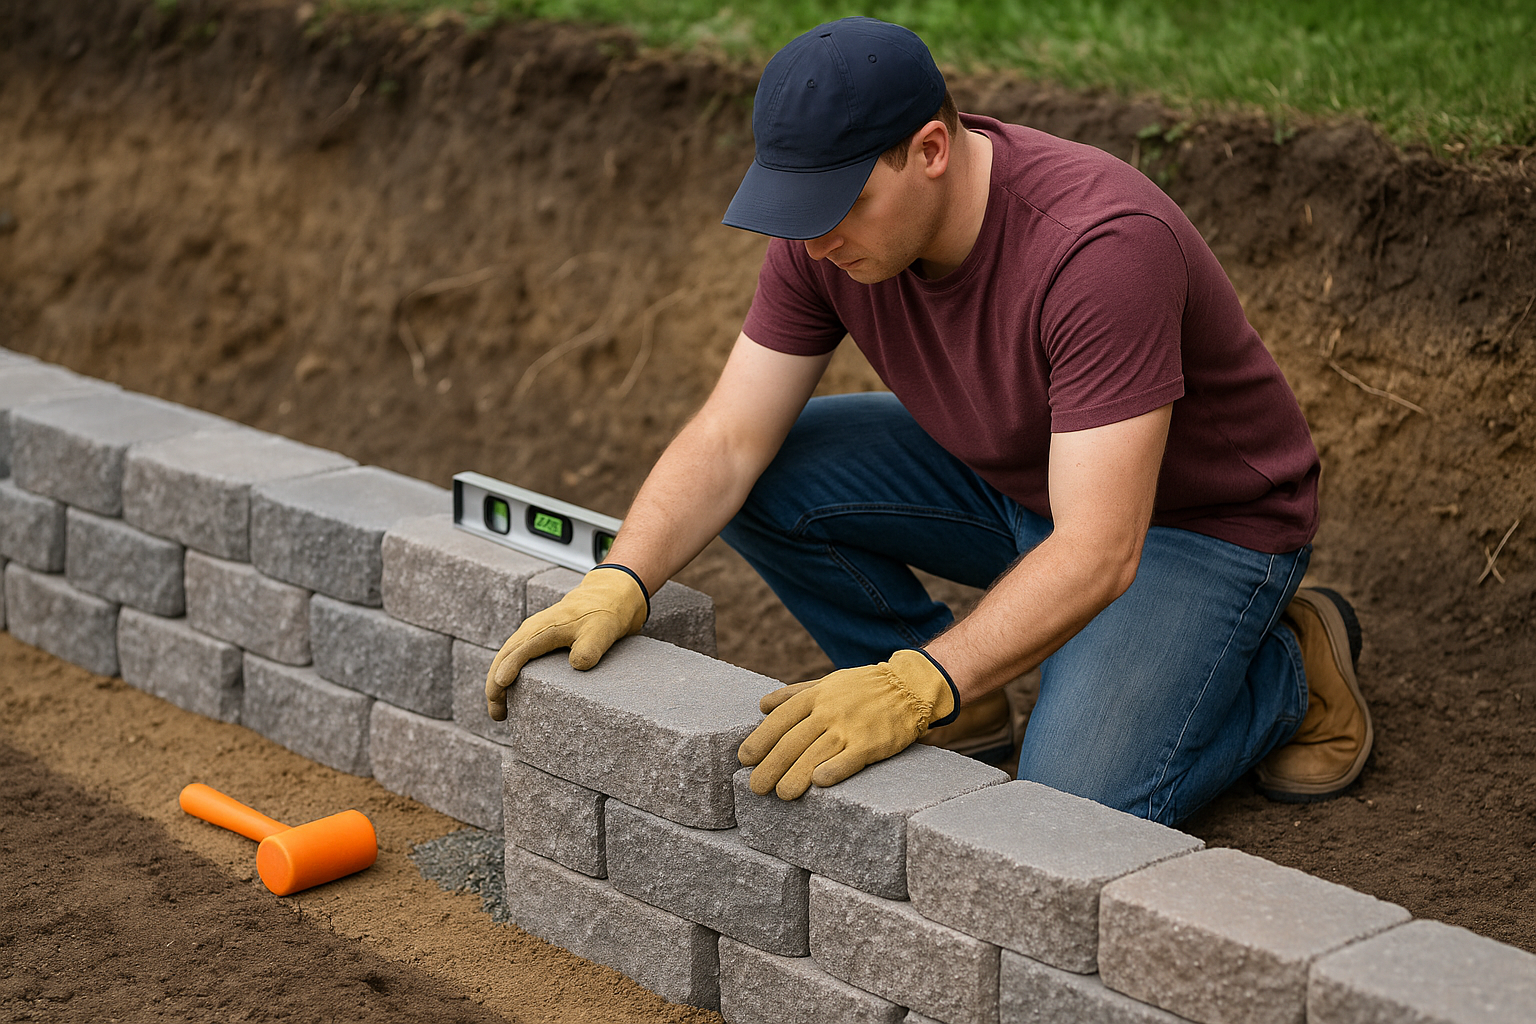
Set the first row of blocks or stones directly on the compacted base. Use a level frequently — the first course sets the wall’s alignment. For block systems, some units may require a small mortar bed or adhesive; follow manufacturer instructions.
4. Build up the wall
Stack additional courses, staggering the joints like brickwork for strength. If using modular concrete blocks, back-slope each course slightly into the hillside (setback) to improve stability. For walls taller than about 3 feet, install geogrid reinforcement extending back into the soil according to design specs.
5. Install drainage and backfill
Proper drainage is critical. Place a perforated drain pipe behind the base of the wall, bedding it in gravel and wrapping it in filter fabric to prevent clogging. Backfill in layers with free-draining gravel or crushed rock, compacting lightly as you go. Avoid using soil directly behind the wall unless the design calls for it, since soil holds water and increases pressure.
6. Cap and finish
Finish the wall with capstones secured with adhesive or mortar for a clean look. Grade the top of the backfill so water moves away from the wall and finish landscaping to prevent concentrated runoff.
Common Mistakes to Avoid
- Skipping drainage: Without drainage the wall will fail from hydrostatic pressure.
- Ignoring the base: An uncompacted or undersized base causes settlement and tilting.
- Building too tall without reinforcement: Taller walls typically require geogrid or engineering.
- Using the wrong backfill: Clay and topsoil trap water; use gravel where specified.
- Not checking for underground utilities and permits.
Maintenance Tips
Inspect the wall annually for leaning, cracks, or bulging. Keep drainage outlets clear and remove vegetation that could dislodge stones or block weep holes. For minor settling, re-level the affected sections promptly to prevent larger failures.
Conclusion
Installing a retaining wall takes planning, the right materials, and attention to drainage and base preparation. For small landscape walls, a careful DIY approach can yield beautiful, long-lasting results. For tall or heavily loaded walls, hire a professional to ensure safety and compliance with local codes.