
Patio Installation Guide: Plan, Prepare, and Build a Lasting Outdoor Space
Plan Your Patio: Purpose, Size, and Location
Start by deciding how you’ll use the patio. Will it be for dining, lounging, grilling, or a combination? Consider sun exposure, privacy, access to the house, and how the patio will flow with existing landscaping. Sketch a simple layout and measure the area. A clear plan saves time, materials, and headaches later.
Check Local Rules and Permits
Before you dig, check local building codes and homeowner association rules. Many municipalities require permits for poured concrete or permanent structures, and setbacks or drainage requirements can affect placement. It’s better to know restrictions up front than to face fines or forced removal.
Choose the Right Materials
Material choice affects look, cost, and installation method. Common options include:
- Pavers: Durable, flexible, and easy to repair. They come in many shapes, colors, and sizes.
- Concrete slab: Economical for large, flat surfaces. Can be stamped or colored for style.
- Flagstone: Natural, upscale appearance with irregular edges. Requires more careful installation.
- Gravel: Affordable, quick to install, and good for casual seating areas.
Think about maintenance, slip resistance, and how the material complements your home.
Tools and Materials You’ll Need
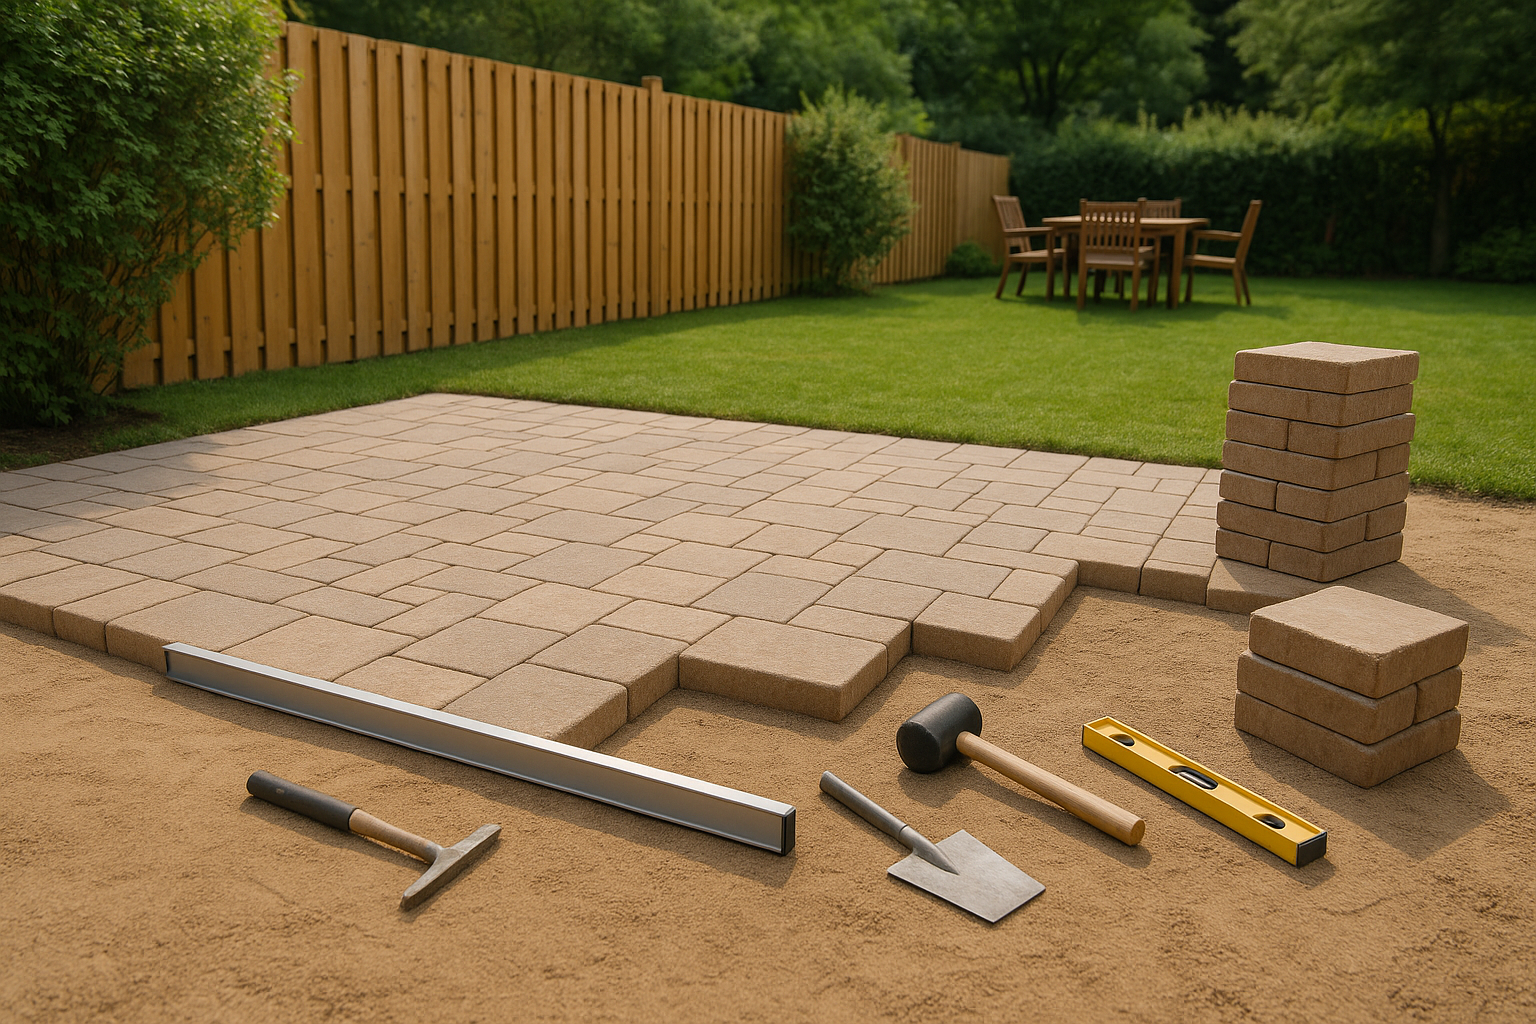
Basic tools depend on the surface, but common items include a tape measure, carpenter’s level, shovel, rake, wheelbarrow, plate compactor (rent if needed), landscape fabric, edging restraints, crushed stone or gravel, sand or stone dust, and the surface material (pavers, concrete, flagstone).
Prepare the Site
Mark the patio outline with stakes and string or a garden hose for curves. Remove sod and topsoil to the correct depth for your design: typically 6–8 inches for pavers and 4–6 inches for a concrete slab (depth may vary by climate and load).
Ensure proper slope for drainage—aim for about 1/8″ to 1/4″ drop per foot away from the house. Good drainage prevents standing water and long-term damage.
Build the Base
A stable base is the foundation of a long-lasting patio. Compact the subgrade using a plate compactor, then add a layer of crushed stone or gravel (usually 4–6 inches). Compact that layer well. For pavers, add a 1-inch to 1.5-inch bedding layer of coarse sand or stone dust and screed it smooth.
Install the Surface
Installing Pavers
Start from a straight edge and lay pavers in your chosen pattern, maintaining consistent gaps. Use a mallet to tap pavers into place. After laying, spread polymeric sand over the joints and sweep it in, then compact the surface to set the pavers. Reapply joint sand and compact again until joints are fully filled.
Pouring a Concrete Slab
Build sturdy formwork and install reinforcement (rebar or wire mesh) if needed. Mix and pour concrete, screed it level, then finish with a float or broom for texture. Allow proper curing time and consider control joints to prevent cracking.
Laying Flagstone
Flagstone requires a stable base similar to pavers but often with larger gaps filled with gravel, sand, or mortar. Fit stones together like a puzzle, maintaining consistent thickness. Level each stone on the bedding layer and compact the area around it.
Edge Restraints and Drainage
Edge restraints keep pavers and stones from shifting. Use plastic, metal, or concrete edging anchored with spikes. Make sure surface grading directs water away from buildings and toward proper drainage paths or French drains if needed.
Finishing Touches
Add a border or contrasting band to frame the patio. Install seating walls, steps, or planters to integrate the patio with the yard. Sealers can protect some materials—check manufacturer recommendations before applying.
Cleanup and Compaction
Clean the surface by sweeping and washing off excess joint material. Run a plate compactor with a protective pad over pavers to seat them without scratching. Inspect for uneven spots and correct as necessary.
Maintenance Tips
- Sweep regularly and clear debris to prevent staining and weeds.
- Reapply joint sand or re-seal concrete as recommended.
- Address drainage issues immediately to avoid base erosion.
- Replace cracked pavers individually rather than removing the whole patio.
When to Hire a Professional
Consider a pro if the project is large, site conditions are challenging, slopes or retaining walls are involved, or local codes make inspections/permits mandatory. Professionals bring experience with grading, drainage, and durable construction methods that can save money over time.
Cost and Timeline Overview
Costs vary widely by material, size, and site prep. Expect DIY paver patios to cost less in materials and more in labor hours; concrete and flagstone can be more expensive. Small patios can be completed over a weekend; larger or concrete projects may take several days to weeks including curing and finishing.
Safety Considerations
Wear gloves, eye protection, and knee pads. Follow safe lifting practices and use rented equipment according to instructions. Call utility companies before you dig to avoid hitting underground lines.
Conclusion
Installing a patio is a rewarding project that boosts outdoor living space and home value. With careful planning, the right materials, proper site prep, and attention to drainage, you can build a patio that looks great and lasts for years. Start small if you’re new to hardscaping, and don’t hesitate to consult a professional for complex jobs.