
How to Install an Arbor: A Step-by-Step Garden Guide
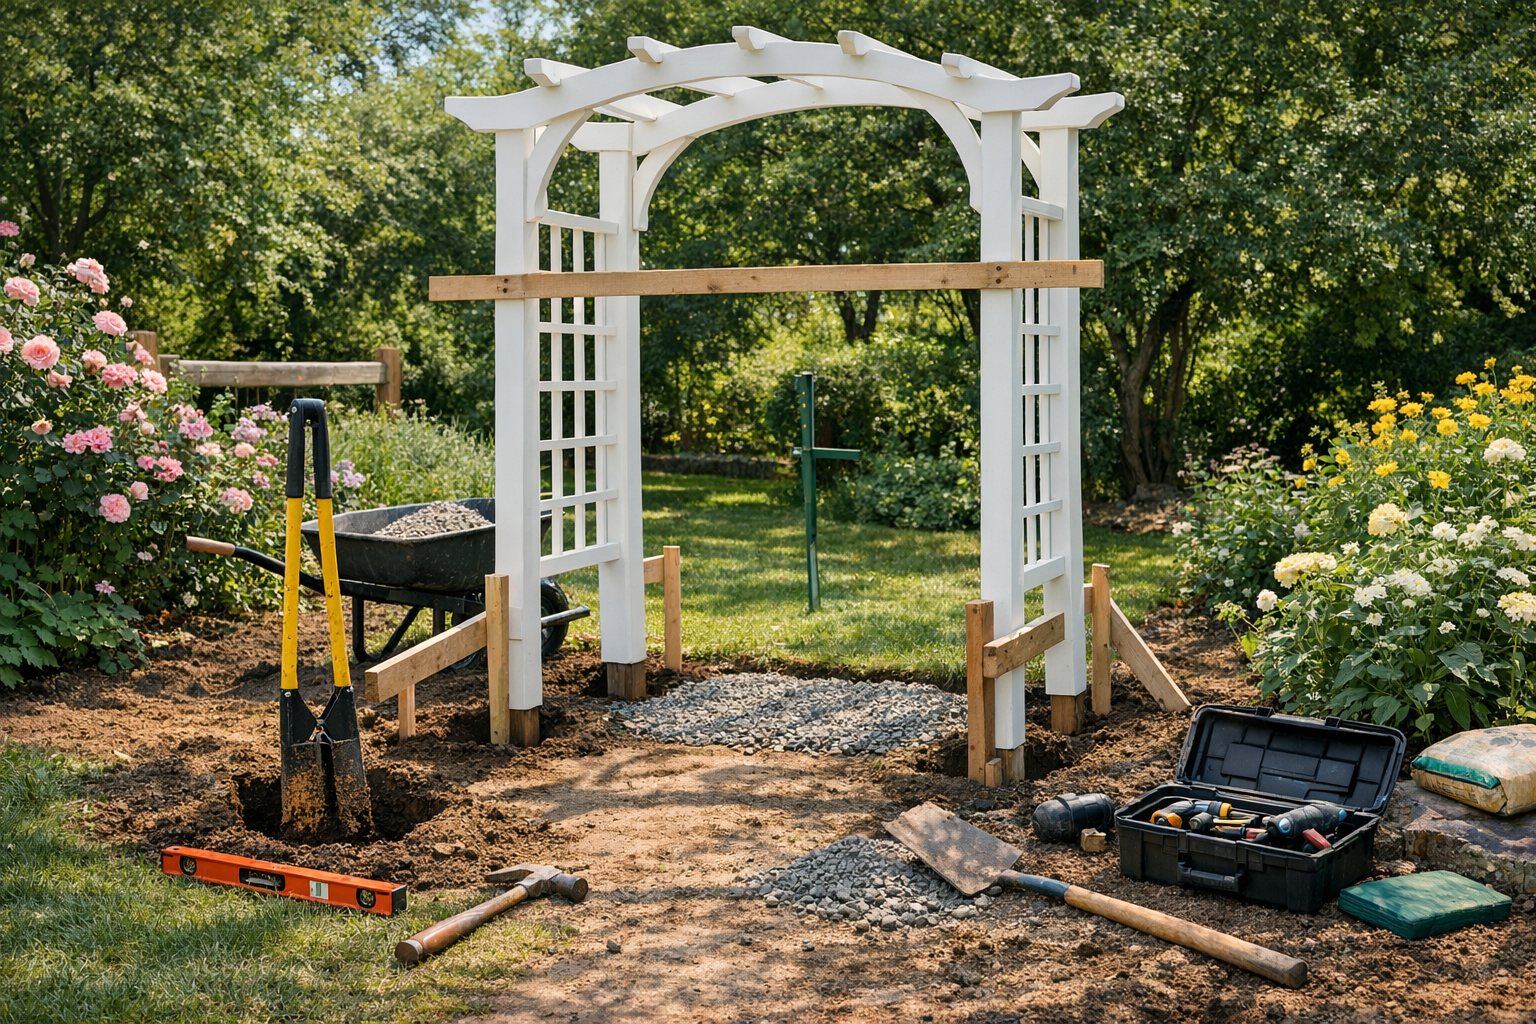
How to Install an Arbor
A garden arbor can turn an ordinary path or seating area into a welcoming focal point. It also gives climbing plants a place to grow and can frame an entry to a yard or garden. Whether you’re assembling a ready-made kit or building a simple arbor yourself, careful planning and secure anchoring are key to a structure that looks good and stands up to the weather.
This guide covers how to choose a location, prepare the site, assemble the arbor, and anchor it safely. Always follow the manufacturer’s instructions if you’re using a kit, since parts and installation methods vary.
Plan the Location and Check the Ground
Start by deciding how the arbor will be used. An arbor over a path needs enough room for people to walk beneath it comfortably, while one near a bench can provide a defined, sheltered-feeling nook. Consider how the structure will look from the house and how sunlight, shade, and nearby plants change throughout the day.
Before digging, check for buried utilities, irrigation lines, and drainage pipes. Contact your local utility-locating service where available, and review local rules for structures, setbacks, or permits. Choose ground that is as level as possible. If the site slopes, you may need to adjust the post heights or prepare a level base rather than forcing the arbor to sit unevenly.
Choose the Right Arbor and Materials
Arbors are commonly made from wood, vinyl, metal, or a combination of materials. Wood offers a classic garden appearance and can be painted or stained, but it needs periodic maintenance. Vinyl is easy to clean and resists rot, while metal can provide a slim, sturdy frame. Match the material to your climate, the amount of upkeep you’re willing to do, and the style of your outdoor space.
Check the product dimensions before purchasing. Make sure the opening is wide enough for its intended use and that there is adequate clearance above the path. If you plan to grow a vigorous vine, look for a frame designed to support its mature weight. A lightweight decorative arbor may not be suitable for heavy climbing plants or a windy, exposed location.
Tools and Supplies You May Need
Most installations require a tape measure, level, shovel or post-hole digger, drill, and the fasteners specified by the manufacturer. Depending on the design and ground conditions, you may also need stakes, string, gravel, concrete, post anchors, or a helper to hold the frame in position. Wear safety glasses and gloves, and use tools according to their instructions.
Lay out all the components before you begin. Confirm that the kit includes its listed hardware and identify each post, crosspiece, and brace. This quick check can prevent delays after the posts are in place.
Step-by-Step Arbor Installation
1. Mark the Post Locations
Use the arbor’s instructions to determine the distance between posts. Mark each post location with a stake, then measure diagonally between opposite corners if the design has four posts. Equal diagonal measurements help confirm that the layout is square. Use string to mark a straight line if the arbor will sit over a path.
2. Prepare the Post Holes or Anchors
The best anchoring method depends on the arbor and the surface beneath it. For a freestanding arbor with posts set into soil, dig holes to the depth and width recommended for the structure and local conditions. Add a layer of gravel at the bottom if appropriate for drainage. In areas with frost, follow local guidance for footing depth.
On a patio or concrete path, use post bases or surface-mount anchors rated for the arbor and the installation surface. Don’t assume that placing the posts on the ground or attaching them with light-duty screws will keep the structure stable. Strong wind can put considerable force on an arbor, especially once it is covered with foliage.
3. Assemble the Frame
Assemble the sides and crosspieces according to the manufacturer’s sequence. It’s often easier to build the frame on a flat surface before raising it. Tighten fasteners securely, but avoid overtightening screws into wood or plastic components. If the arbor is large, ask someone to help lift and steady it.
4. Set, Level, and Secure the Arbor
Position the posts in their holes or attach them to the prepared anchors. Check that the arbor is level from side to side and front to back. Use temporary braces to hold it plumb while you secure the posts. If you’re setting posts in concrete, follow the product directions, keep checking alignment as the concrete is placed, and allow it to cure for the specified time before adding weight or climbing plants.
For surface-mounted anchors, use the correct fasteners for the material beneath them. Masonry anchors, for example, must be installed correctly in sound concrete. When the arbor is secured, give it a careful, gentle check for movement. Make adjustments before adding plants or decorative pieces.
Finish and Maintain Your Arbor
Once installation is complete, cover exposed soil around the posts with mulch or gravel if desired, keeping it clear of untreated wood to reduce moisture exposure. If the arbor is made of wood, apply an exterior finish that suits the product and climate. Check the manufacturer’s advice before painting or staining a new kit, since some finishes require a waiting period.
Inspect the arbor at least once a year and after severe weather. Look for loose fasteners, cracked components, rust, rot, or movement at the base. Prune climbing plants so they don’t become too heavy for the frame, and make sure vines aren’t trapping moisture against the structure.
Common Arbor Installation Mistakes to Avoid
Skipping utility checks, setting posts out of square, and failing to anchor the arbor securely are common causes of trouble. Another frequent mistake is choosing a location without considering mature plant growth or foot traffic. Take time to measure the space, follow the kit instructions, and use anchors suited to the ground or surface. If the site is steep, the soil is unstable, or the arbor is unusually large, consider getting advice from a qualified contractor.
Conclusion
A well-installed arbor adds structure and charm to a garden while creating support for climbing plants. Plan the location, prepare a square layout, and anchor the posts securely for your site. With regular inspections and simple maintenance, your arbor can remain a beautiful part of the landscape for years.