
DIY Retaining Walls: A Practical Guide to Planning, Building, and Maintaining
Introduction
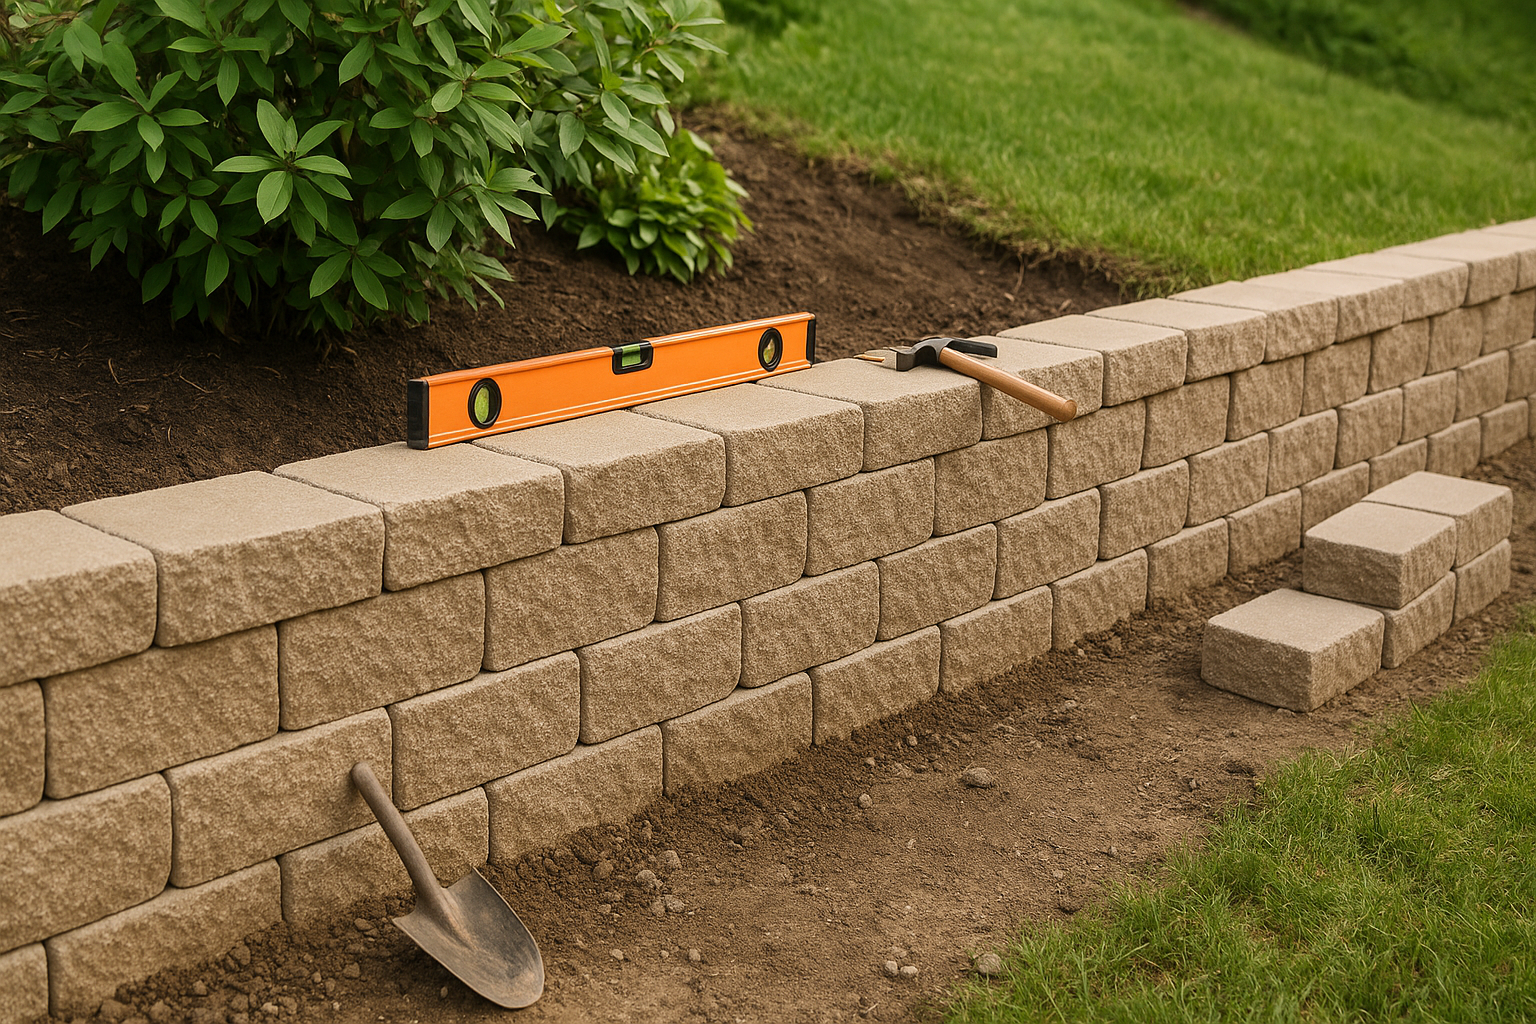
Retaining walls are a powerful way to tame slopes, prevent erosion, and add usable space to your yard. Building one yourself can save money and give you a rewarding weekend project—if you plan carefully. This guide walks you through the essentials of DIY retaining walls, from choosing the type to finishing touches and maintenance.
Planning and Permits
Before you pick up a shovel, measure the slope, check property lines, and verify local building codes. Many municipalities require permits for walls over a certain height (commonly 3–4 feet). Call your utility locator to mark underground lines and sketch a plan showing dimensions and drainage. Good planning prevents costly rework and keeps your wall legal and safe.
Types of Retaining Walls
Gravity Walls
Gravity walls rely on mass (stone, concrete, or heavy blocks) to resist soil pressure. They work well for low walls—typically under 3 feet—and are straightforward for beginners.
Segmental Concrete Block Walls
Interlocking concrete blocks are popular for DIYers. They’re modular, don’t require mortar, and often include options for geogrid reinforcement for taller walls.
Timber Walls
Pressure-treated wood or railroad ties can create a rustic look and are simpler to install. Expect shorter lifespan compared with concrete or stone and consider drainage and rot protection.
Gabion and Stone Walls
Gabions are wire baskets filled with rock—fast to install and excellent for rugged aesthetics. Natural stone walls look great but require more skill and time.
Tools and Materials
Typical tools: shovel, hand tamper or plate compactor, level, string line, tape measure, wheelbarrow, masonry saw (if cutting blocks or stones), and a rubber mallet. Materials depend on type but often include gravel for base and drainage, filter fabric, drainage pipe (perforated PVC), blocks or stone, landscape adhesive (for some blocks), and geogrid for reinforcement on taller walls.
Step-by-Step Build Process
1. Mark and Excavate
Mark the wall line with stakes and string. Excavate the footprint, including space for a compacted base of crushed stone. For most block walls, dig a trench 6–12 inches below grade and wide enough for the base course plus 4–6 inches.
2. Build a Solid Base
Lay and compact 4–8 inches of crushed stone (3/4″ minus or similar) for the base. Use a plate compactor or hand tamper to create a stable, level foundation. A solid base is the single most important factor for a durable wall.
3. First Course and Leveling
Set the first course carefully—this row dictates the entire wall’s alignment. Use a string line and level to keep things straight and true. For block walls, use a rubber mallet to seat blocks firmly on the base.
4. Drainage and Backfill
Install a perforated drainage pipe at the base, sloping it toward an outlet or storm system. Add filter fabric behind the base and pour in free-draining gravel against the wall as you build. Backfill in 6–8 inch lifts and compact gently to avoid shifting the wall.
5. Reinforcement for Taller Walls
Walls over 3–4 feet typically need reinforcement such as geogrid. Follow manufacturer guidelines for grid length and placement—usually every few courses—anchoring it into the backfill to improve stability.
6. Cap and Finish
Finish with capstones or a neat row of blocks. Use landscape adhesive where recommended to prevent shifting. Grade the top of the backfill away from the wall to promote runoff and reduce hydrostatic pressure.
Maintenance and Troubleshooting
Inspect your wall each season for settling, bulging, or drainage issues. Common fixes include improving drainage, adding additional compacted backfill, or replacing displaced blocks. Small cracks in mortar or shifting stones can often be remedied before they become major problems.
Safety and Costs
Safety is paramount—large walls have structural risks. For walls over 4 feet or where soil conditions are poor, consult a structural engineer. DIY costs vary by material: timber and basic block walls are often the most budget-friendly, while natural stone and gabion walls can be pricier. Expect to spend several hundred to several thousand dollars depending on size, materials, and tools needed.
Conclusion
With solid planning, the right materials, and careful attention to drainage and base preparation, many homeowners can successfully build a functional and attractive retaining wall. Start small, follow manufacturer instructions, and don’t hesitate to consult a professional for complex or tall structures. A well-built wall not only solves erosion problems but also adds lasting value to your landscape.