
Sprinkler System for Landscaping: Design, Installation, and Maintenance Guide
Introduction
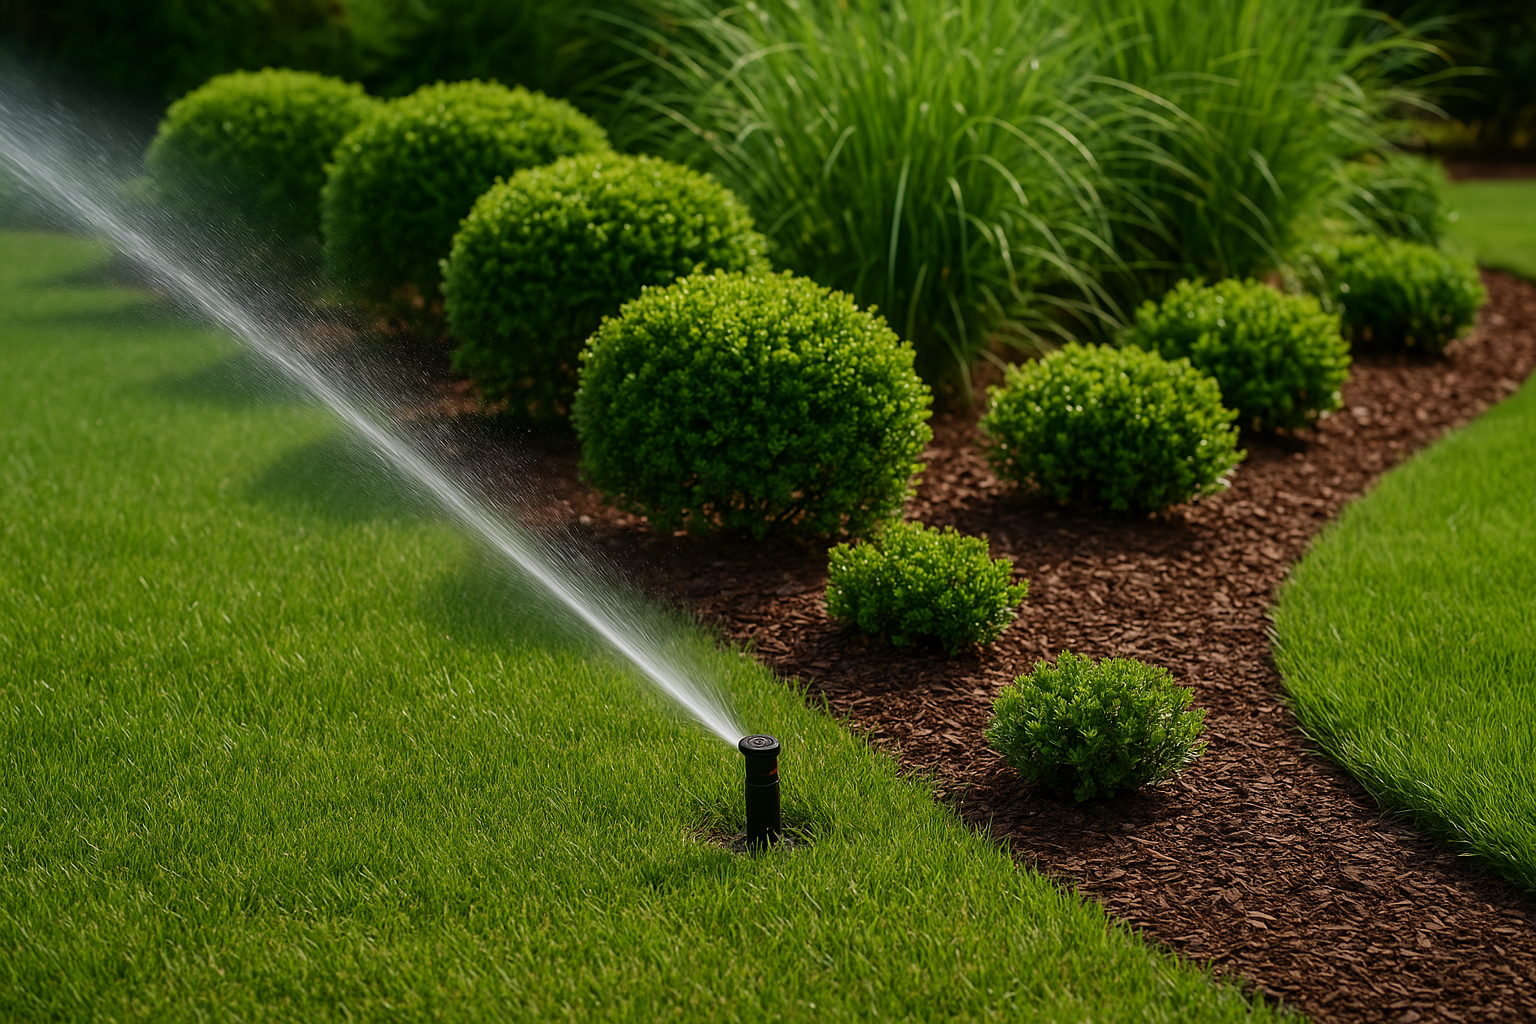
A well-designed sprinkler system is one of the best investments you can make for an attractive, healthy landscape. It reduces manual watering, helps plants thrive, and can save water when set up properly. This guide will walk you through the essential considerations for choosing, designing, installing, and maintaining a sprinkler system for landscaping.
Why Choose a Sprinkler System?
Consistent watering
Sprinkler systems deliver water uniformly across lawns and garden beds, preventing dry spots and promoting even growth.
Time and labor savings
Automated systems free up time that you’d otherwise spend dragging hoses and moving sprinklers—especially valuable for larger properties.
Water efficiency
Modern systems with smart controllers, drip zones, and pressure regulation can reduce overall water use compared with manual watering when programmed correctly.
Types of Sprinkler Systems
Pop-up spray systems
These are common for lawns. Spray heads pop up when active and distribute water in fixed patterns. They’re best for smaller zones with shorter run times.
Rotor systems
Rotors cover larger distances and operate at lower precipitation rates, making them ideal for bigger turf areas. They often require fewer heads than spray systems.
Drip irrigation
Drip or micro-spray systems are ideal for garden beds, shrubs, and trees. They deliver water directly to the root zone, minimizing evaporation and runoff.
Design and Layout
Start with a site assessment
- Map hardscapes, slopes, plant types, sun exposure, and existing water sources.
- Identify areas with different water needs—lawns, flower beds, trees, and drought-tolerant zones.
Zone planning
Group plants with similar watering requirements into the same irrigation zone. This prevents overwatering delicate plants or underwatering thirsty turf.
Head spacing and placement
Follow the manufacturer’s spacing recommendations. For spray heads, use the “head-to-head” method so each head overlaps the next, ensuring uniform coverage. For rotors, account for throw distance and arc adjustments.
Installation Basics
Tools and materials
You’ll need pipe, fittings, valves, sprinkler heads, a controller, wiring, and basic trenching tools. Consider a backflow preventer if required by local code.
DIY or professional install?
Smaller, simple systems can be a DIY project for homeowners comfortable with basic plumbing and electrical work. Larger or complex systems—especially those requiring trenching, pressurized lines, or electrical connections—are often best handled by licensed irrigation pros.
Controller and wiring
Mount the controller in a weather-protected location with easy access to power. Run low-voltage wiring to each valve location and label wires clearly for future troubleshooting.
Maintenance and Seasonal Care
Routine checks
- Inspect heads monthly for clogs, damage, or misalignment.
- Test each zone for uniform coverage and adjust heads as needed.
- Check the controller schedule and adjust for seasonal changes.
Winterizing
In climates with freezing temperatures, blow out the system with compressed air or drain it to prevent pipes and heads from bursting.
Annual tasks
Replace worn nozzles, test the backflow preventer, and consider a professional audit every few years to maintain efficiency.
Water Conservation Tips
Use smart controllers
Weather-based or soil-moisture controllers adjust run times based on local conditions and reduce unnecessary watering.
Choose the right nozzle
High-efficiency nozzles and pressure-regulating devices help cut misting and runoff, increasing the amount of water that reaches plant roots.
Water at optimal times
Early morning watering reduces evaporation and disease risk. Avoid midday and evening watering where possible.
Troubleshooting Common Issues
Puddling and runoff
Reduce run time or break zones into shorter cycles (cycle and soak) to allow soil to absorb water.
Uneven coverage
Check for clogged or misaligned heads and adjust spacing. Replace nozzles if they’re damaged.
Valve or controller problems
If a zone won’t turn on, check wiring, fuses, and the valve diaphragm. Controllers can be reset or reprogrammed, but persistent electrical problems may need a pro.
Budgeting and Cost Considerations
Costs vary widely based on system size, material quality, and whether you hire a contractor. Factor in initial installation, controller upgrades (like smart controllers), and annual maintenance. Investing in quality components and a professional design often pays off through lower water bills and fewer repairs.
Conclusion
A properly planned and maintained sprinkler system keeps your landscape healthy, conserves water, and saves time. Whether you choose a DIY approach or hire a professional, focus on correct zoning, efficient components, and regular maintenance to get the best long-term results.