
DIY Landscape Irrigation: A Step-by-Step Guide to a Water-Wise Yard
Why DIY Landscape Irrigation?
Installing your own landscape irrigation system saves water, reduces your water bill, and keeps plants healthier by delivering water where and when it’s needed. This guide walks you through planning, choosing the right system, installation, and maintenance so you can build an efficient irrigation system tailored to your yard.
Planning Your DIY Irrigation System
Assess Your Landscape
Start with a site survey. Note plant types, sun exposure, soil type, and slopes. Group plants with similar water needs into zones to avoid overwatering. Sketch a simple map showing lawn areas, beds, trees, and existing water lines.
Check Water Source, Flow, and Local Rules
Measure water pressure and flow rate at the main spigot using a pressure gauge and a 5-gallon bucket for flow rate. Check local codes for backflow prevention and permit requirements—many areas require a backflow preventer for irrigation systems.
Choosing the Right System
Drip Irrigation vs. Sprinklers
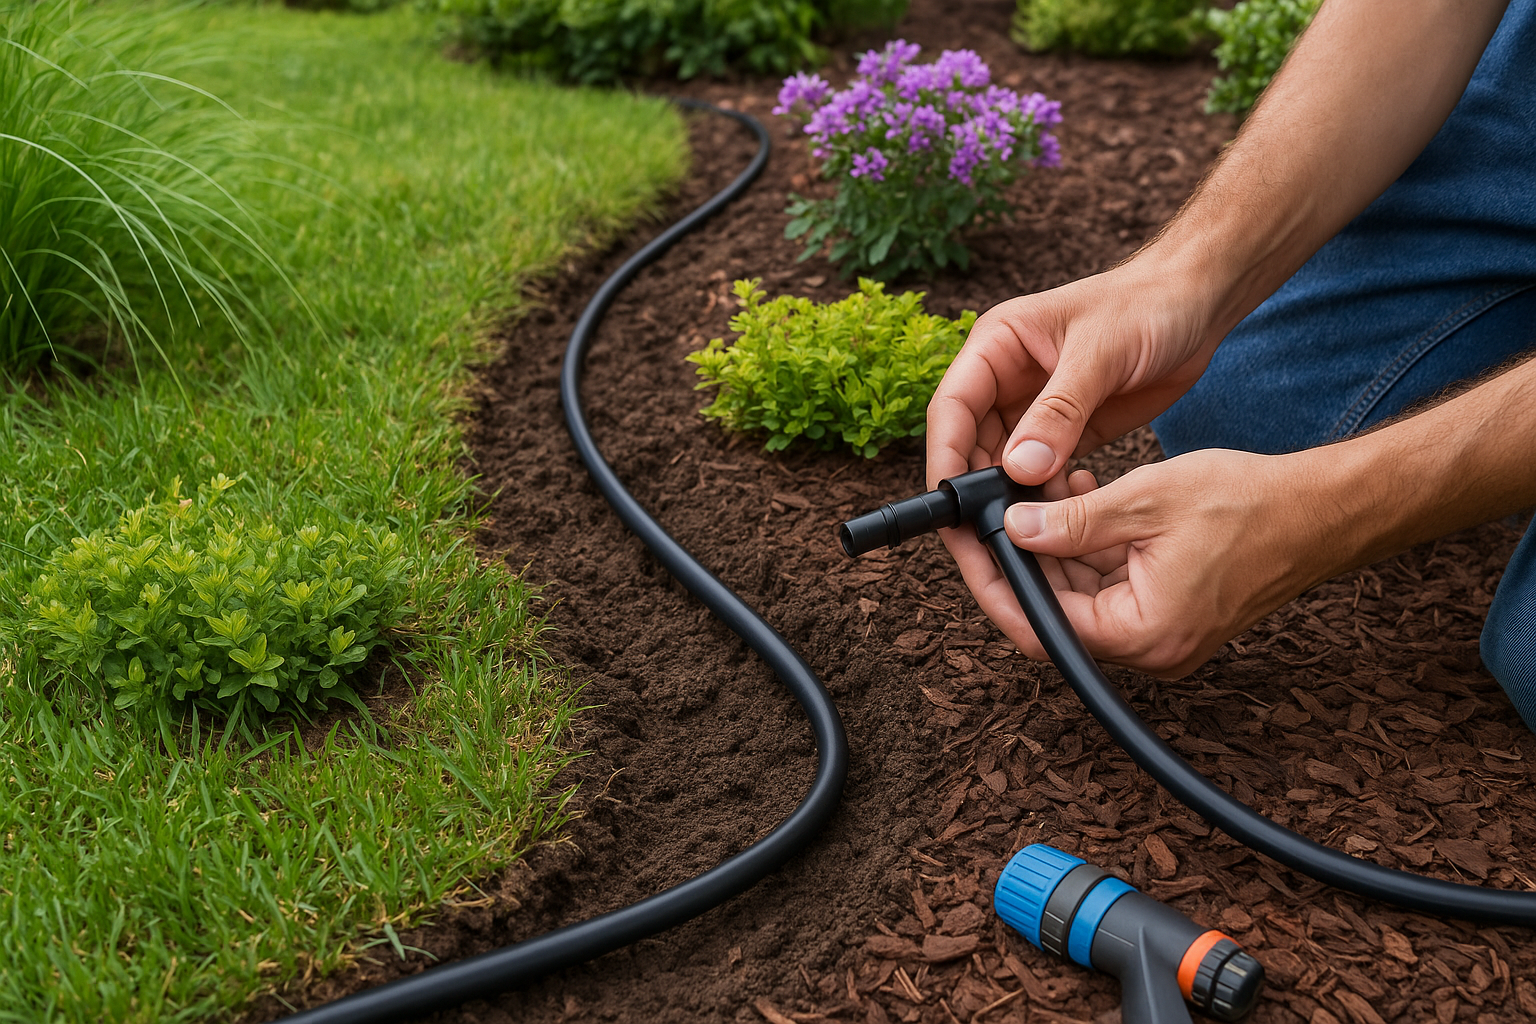
- Drip irrigation is ideal for garden beds, shrubs, and trees. It delivers water slowly at the roots, reducing evaporation and runoff.
- Sprinklers work well for lawns and large, evenly planted areas. Choose spray heads for small zones and rotor heads for larger zones.
Essential Components
- Controller/timer to automate watering schedules.
- Valves (manual or automatic) to control zones.
- Pipes and tubing (PVC for mains, poly tubing or drip line for zones).
- Emitters, micro-sprays, or sprinkler heads depending on the system.
- Backflow preventer, pressure regulator, and filters for drip systems.
Design and Layout
Create a Watering Plan
Divide the yard into zones by plant type and sun exposure. Lawns, flowerbeds, and vegetable gardens should each have separate zones. Label each zone on your map and estimate runtime based on emitter or sprinkler output and plant needs.
Calculate Flow and Pressure
Match the total flow required for all zones to your water source capacity. If a zone needs more flow than available, split it into multiple sub-zones or adjust head types. Use a pressure regulator if your incoming pressure exceeds component specs.
Installation Steps
Layout and Trenches
Mark system lines on the ground with spray paint or flags. Dig trenches deep enough to avoid damage from mowing and freezing—typically 4 to 8 inches for drip and 6 to 12 inches for sprinkler mains.
Install Main Line, Valves, and Backflow Preventer
Connect the backflow preventer at the water source, then run the main line to the valve box. Install automatic valves in an accessible valve box. Use Teflon tape on threaded fittings and primer/cement for PVC joints where required.
Connect Zones and Place Heads or Emitters
Lay lateral lines to each zone, install emitters, micro-sprays, or sprinkler heads per your design, and adjust heights for proper coverage. For drip systems, add inline filters and pressure regulators to protect emitters.
Wire the Controller
Run low-voltage wire from valves to the controller and program basic schedules. Start with shorter runtimes and observe plant response—over time you can fine-tune soak cycles and frequency for efficiency.
Test and Adjust
Turn on each zone and inspect for leaks, clogged nozzles, and coverage issues. Adjust nozzle angles, add or remove emitters, and ensure uniform watering. Replace or repair faulty parts before backfilling trenches.
Maintenance and Seasonal Care
Routine Checks
- Inspect for leaks or broken heads monthly.
- Clean filters and flush lines at the start of each season.
- Reprogram the controller seasonally to account for weather.
Winterizing
In cold climates, drain or blow out water from the system to prevent freezing damage. For milder climates, simply turn off and mulch sensitive valves and components.
Troubleshooting Common Problems
- Poor coverage: Check pressure and nozzle type; adjust spacing.
- Low flow: Inspect for clogs, closed valves, or leaks.
- Uneven irrigation: Look for emitter wear, pressure loss, or slope runoff—consider drip for slopes.
Cost and Time Estimates
A basic drip system for a garden or small bed can cost under a few hundred dollars in materials and take a weekend to install. A full lawn sprinkler system typically ranges from several hundred to a few thousand dollars depending on zone count and complexity and may take a few weekends or a professional day’s work for a homeowner installer.
Conclusion
DIY landscape irrigation is an achievable weekend project that pays back in healthier plants and lower water bills. With careful planning, the right components, and seasonal maintenance, you can build an efficient system tailored to your yard’s needs.