How to Build a Garden Arbor: A Step-by-Step DIY Guide
Why build a garden arbor?
An arbor can transform a garden by creating an inviting entrance, supporting climbing plants, and adding vertical interest to an otherwise flat landscape. Whether you want a romantic rose-covered gateway or a simple wooden frame for morning glories, building an arbor is a satisfying weekend project that adds value and personality to your outdoor space.
Planning and design
Size and placement
Start by measuring the location where you want the arbor. Typical arbors are 712 to 8 feet tall to allow comfortable passage underneath, and 3 to 6 feet wide depending on the pathway. Consider sightlines from your home and how the arbor will frame views. Place it on level ground or plan to add footings where needed.
Style and plant choices
Decide on a style that suits your garden: simple and modern, rustic, or ornate latticework. Choose plants that match the structure—heavy climbers like roses or wisteria need a sturdy build, while clematis and jasmine are lighter. Factor in sun exposure and the plant’s mature size.
Permits and safety
Check local building codes and HOA rules. Most small garden arbors don’t require permits, but if yours is large or attached to a fence or deck, you may need approval. Also consider utilities when digging footings—call before you dig to avoid underground lines.
Materials and tools
Lumber and hardware
Common materials include pressure-treated lumber for posts and base elements, cedar or redwood for exposed parts (they resist rot and look great), or painted pine for an economical option. Typical sizes: 4×4 or 6×6 posts, 2×6 crossbeams, and 1×2 or 1×3 slats for lattice. Use galvanized or stainless steel screws, washers, and exterior-grade post anchors.
Tools you’ll need
- Measuring tape, carpenters square, and level
- Post-hole digger or auger, shovel
- Circular saw or miter saw, drill/driver
- Clamps, pencil, safety glasses, and work gloves
Step-by-step build
1. Layout and footings
Mark the post locations with stakes and string to square the layout. Dig holes at least 1218 deep or below the frost line for stability. Set posts in concrete for permanent arbors; for a less permanent option, use adjustable post anchors anchored in concrete piers. Confirm posts are plumb before the concrete sets.
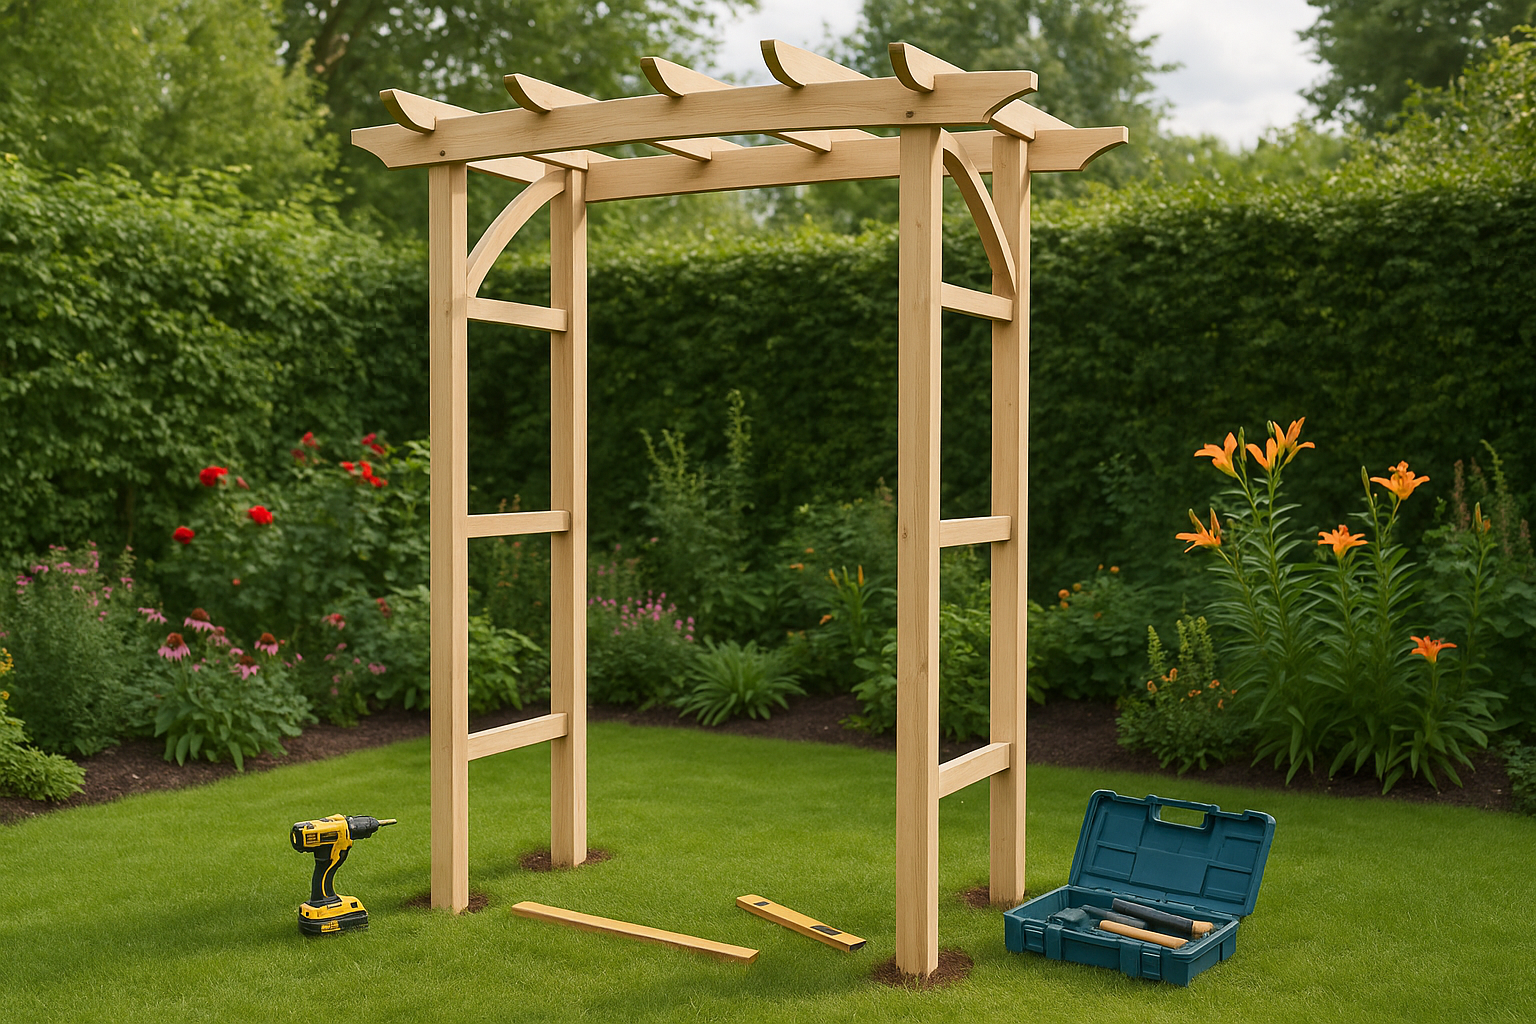
2. Set the posts and rails
Cut posts to height, accounting for how much will be below grade or in anchors. Attach horizontal rails (beams) between posts using through-bolts or carriage bolts with washers and nuts. Use a level to keep beams even and verify diagonals to ensure the frame is square.
3. Add rafters and top slats
Lay out rafters across the top beams—these create shade and support for climbing plants. Space them 6 to 12 inches apart depending on the visual density you want. Secure rafters with exterior screws or decorative brackets. Add thinner slats or lattice above rafters for added detail and extra plant support.
4. Decorative elements and finishing touches
Trim post tops into a shape you like (rounded, peaked, or flat) and add decorative trim, corbels, or post caps. Sand rough edges and pre-drill holes for hardware to prevent splitting. A coat of exterior paint, stain, or clear sealer will extend the life of the wood and complement your gardens palette.
Planting and finishing touches
Choosing and training climbers
Plant climbers a few feet from the post to encourage roots to grow into the soil before reaching the structure. Use soft ties or twine to gently train new growth to the arbor. For heavier vines, consider adding additional horizontal supports to bear weight.
Lighting and seating
Install low-voltage or solar string lights for evening ambiance. A bench or pair of chairs near or beneath the arbor turns it into a restful nook. Add potted plants, stepping stones, or a gravel path to complete the look.
Maintenance and troubleshooting
Common issues
Watch for rot at the base of posts, loose fasteners, or warping from moisture. Tighten or replace hardware annually and inspect for insect damage. If a post shows significant rot, replace it promptly to prevent collapse.
Seasonal care
Reapply stain or sealant every 2-3 years depending on exposure. In colder climates, protect delicate vines in winter by mulching roots and pruning appropriately. Regular pruning will keep plants healthy and prevent the arbor from becoming overloaded.
Conclusion
Building a garden arbor is a rewarding DIY project that enhances both form and function in your outdoor space. With thoughtful planning, the right materials, and basic carpentry skills, you can create an attractive, long-lasting structure that frames views, supports climbing plants, and becomes a cherished feature of your garden.