
DIY Arbor Projects: Build a Beautiful Garden Gateway
Introduction: Why Build an Arbor?
An arbor can transform a plain yard into a charming, inviting space. Whether you want a simple entrance to a vegetable garden, a romantic frame for climbing roses, or a statement piece for your patio, DIY arbor projects are approachable for most skill levels. This guide walks you through planning, materials, design ideas, and installation tips so you can build an arbor you’ll love.
Planning Your DIY Arbor Project
Good planning saves time and money. Start by deciding the purpose and placement of your arbor. Ask yourself: will it support heavy vines, mark a pathway, or simply provide a decorative backdrop? Measure the space and consider access for tools and materials.
Choose the Right Style
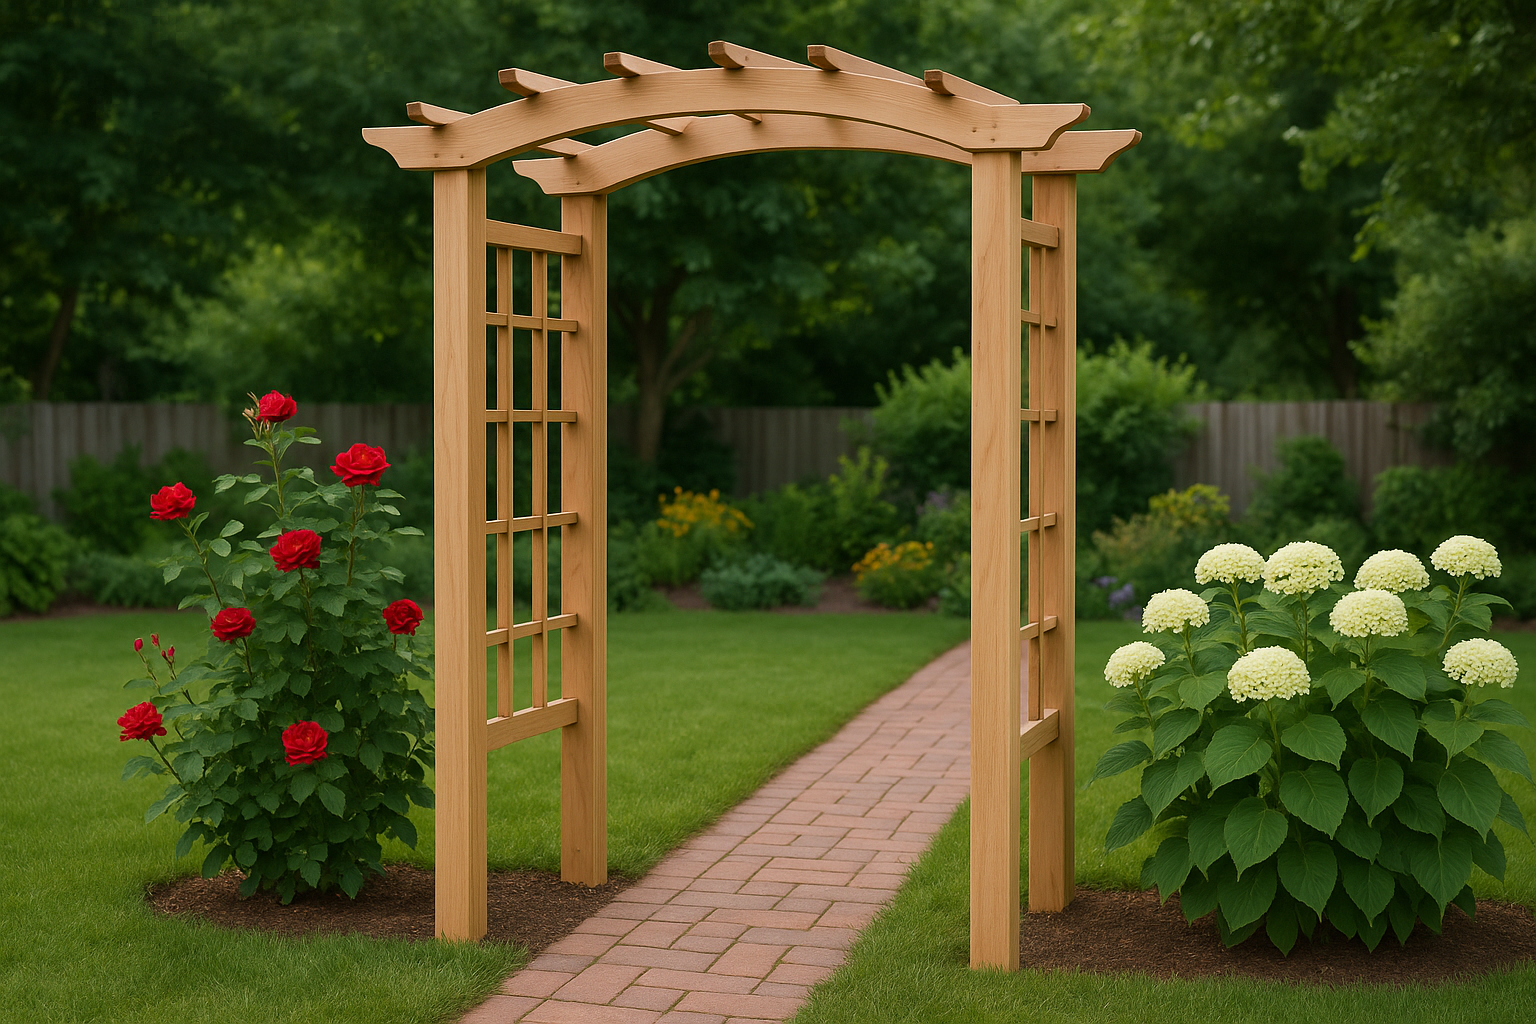
Arbors come in many styles—flat-topped, arched, freestanding, or attached to a fence. Match your arbor’s design to the architecture of your home and the mood of your garden. Simpler, rectangular arbors are easier to build; arched versions are more advanced but offer an elegant look.
Permits and HOA Rules
Check local building codes and homeowner association (HOA) guidelines. Most small, decorative arbors won’t require a permit, but attached structures or anything over a certain size might.
Materials and Tools
The materials you choose affect longevity, look, and maintenance. Here are common options and the tools you’ll likely need.
Material Options
- Pressure-treated lumber: Affordable and rot-resistant; needs painting or stain for best appearance.
- Cedar or redwood: Naturally resistant to rot and insects; pricier but beautiful and long-lasting.
- Vinyl: Low-maintenance and weatherproof; simpler to assemble with pre-made kits.
- Metal (wrought iron or steel): Durable and ornate; ideal for lightweight vines but requires rust protection.
Essential Tools
- Measuring tape, speed square, and level
- Circular saw or miter saw
- Drill/driver and wood screws
- Post hole digger and concrete (for anchored arbors)
- Clamps, pencil, and safety gear
Beginner Arbor Projects (Simple & Quick)
Start with a basic freestanding arbor. A common beginner project is a flat-top arbor with four posts and a lattice roof—perfect for lightweight vines and quick to build.
Step-by-Step Quick Build
- Cut four posts to the desired height (typically 7–8 feet for clearance).
- Dig post holes 18–24 inches deep and set posts in concrete for stability.
- Attach two horizontal rails between the front and back posts at top and mid-height.
- Screw on cross slats or lattice for the roof and sides.
- Sand, prime, and finish with paint or stain.
Intermediate and Advanced Projects
Ready for more challenge? Try an arched arbor, a built-in bench, or combine a gate for privacy and style.
Arched Arbor Tips
- Create the arch by laminating thin strips of cedar or by cutting the shape from thicker stock.
- Reinforce the arch with metal brackets or hidden cleats where it meets posts.
- Test the curve with a temporary template before cutting final pieces.
Integrated Seating or Gate
Adding a bench or gate makes your arbor functional. Plan load-bearing supports for seating and use galvanized hardware for gates to reduce sagging over time.
Installation Tips & Maintenance
Proper installation extends the life of your arbor and keeps it safe.
Anchoring and Stability
For permanent arbors, set posts in concrete footings below the frost line if applicable. If you need a temporary or movable arbor, use heavy base plates or ground spikes.
Finish and Protect
Seal wood with exterior-grade paint, stain, or clear sealer to prevent moisture damage. Reapply finish every 2–3 years depending on exposure.
Planting and Vines
Choose plants that match the arbor’s strength. Lightweight options like clematis and honeysuckle are easy starters. Roses and wisteria need stronger support and regular training to prevent structural strain.
Budgeting and Time Estimates
A basic wood arbor can cost $150–$400 and be completed in a weekend. Arched or custom arbors often run $500–$1,500+ depending on materials and complexity. Plan for extra time if staining, drying, or curing concrete is required.
Where to Find Plans and Inspiration
Look for free plans from woodworking blogs, garden magazines, and community forums. Local hardware stores often have kits if you prefer a semi-DIY approach. Pinterest and Instagram are great for visual inspiration—save photos that show dimensions and details you like.
Conclusion
DIY arbor projects are a rewarding way to add structure, beauty, and function to your garden. Start small if you’re new to woodworking, plan carefully, and choose materials that suit your climate and style. With a bit of effort, you’ll create a welcoming gateway that grows more charming each season.