Concrete Patio Installation: A Practical Guide to a Durable Outdoor Living Space
Why Choose a Concrete Patio?
Concrete patios are a popular choice for homeowners who want a durable, low-maintenance outdoor living area. With options like stamped patterns, colored finishes, and exposed aggregate, poured concrete can mimic more expensive materials while providing long-term value. This guide walks you through planning, installation steps, costs, and maintenance so you can decide whether to DIY or hire a pro.
Planning Your Patio
Define Purpose and Size
Start by deciding how you’ll use the space—dining, lounging, a fire pit, or an outdoor kitchen. Typical sizes range from 10×10 feet for a small seating area to 12×20 feet or larger for multifunctional patios. Consider furniture dimensions and walking clearances when you map out the layout.
Location, Drainage, and Permits
Choose a location with good access from your house and clear sightlines to the yard. Check slope and drainage—concrete must be graded to direct water away from your foundation. Many municipalities require permits for new hardscape installations; check local codes before you start.
Materials and Tools
Materials
- Concrete mix (yard-ready or delivered mix)
- Gravel or crushed stone for base
- Rebar or wire mesh for reinforcement
- Form boards, stakes, and tie wire
- Control joint materials (saws or joint tools)
- Sealer (penetrating or film-forming)
Tools Required
Key tools include a wheelbarrow or concrete pump, shovel, rake, bull float, magnesium float, edging tool, jointer, finishing broom, concrete saw (for joints), and a concrete vibrator if pouring a large slab.
Site Preparation
Good site prep is the foundation of a long-lasting patio.
Excavation
Excavate the area to the required depth—typically 6–8 inches for a patio (4 inches of concrete over 2–4 inches of compacted base). Remove vegetation and soft soil.
Base Compaction and Drainage
Lay and compact 2–4 inches of crushed stone or gravel using a plate compactor. This provides drainage and prevents settling. If your soil drains poorly, add a thicker base or install a drainage pipe.
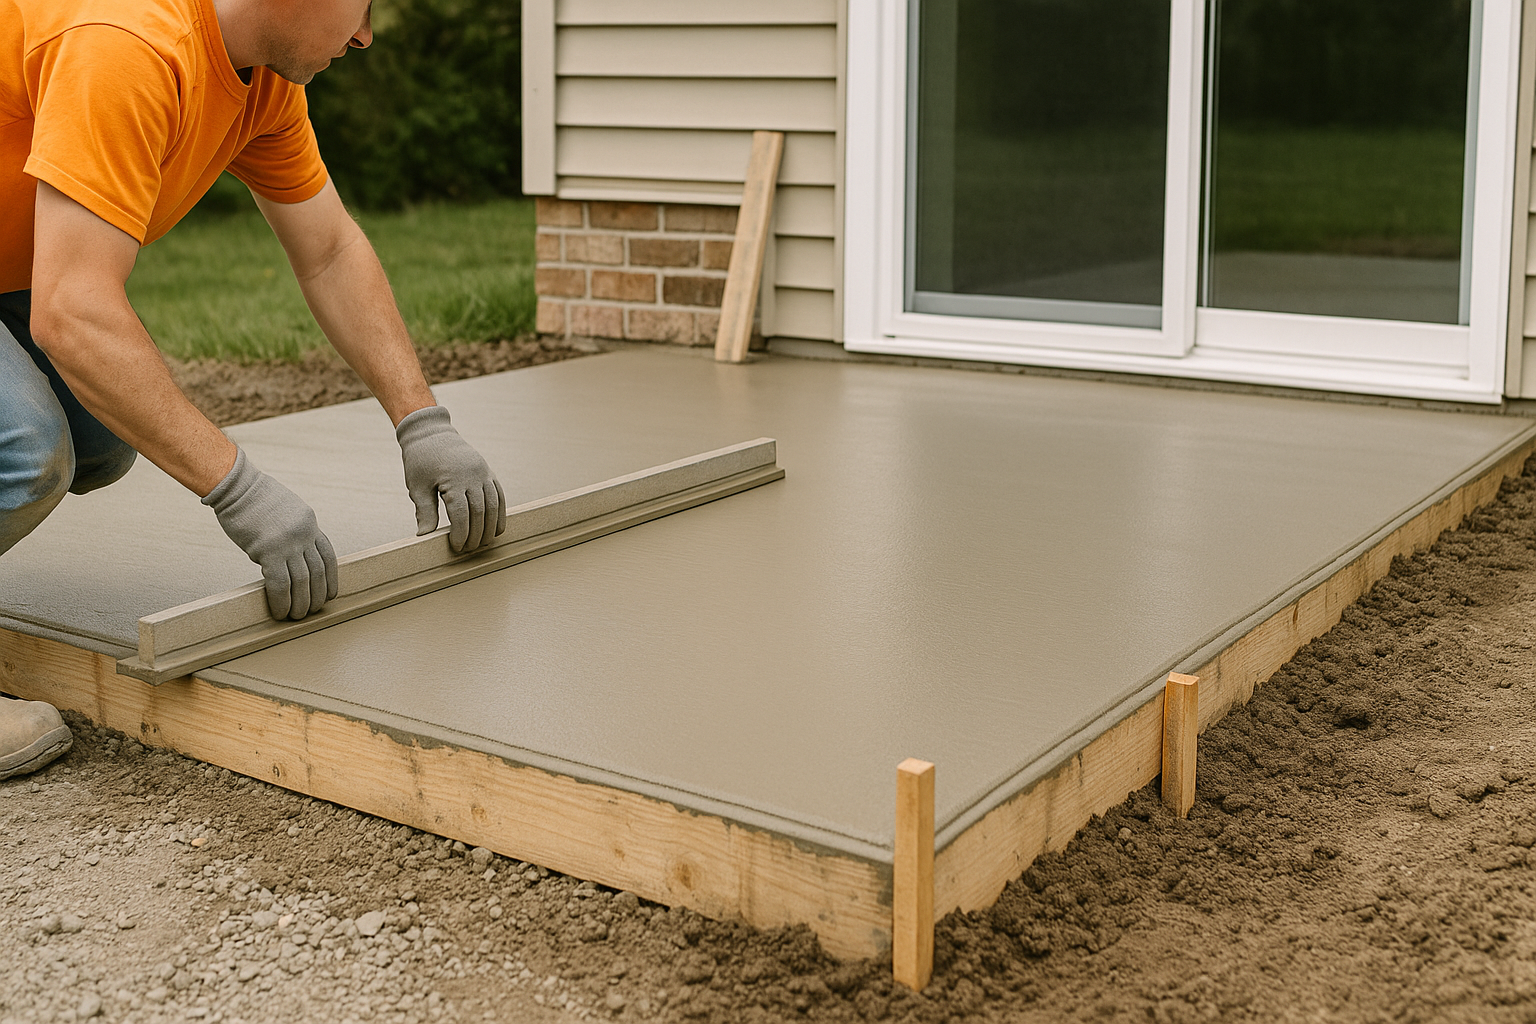
Forming and Reinforcement
Set form boards to the final grade, ensuring they’re level and staked securely. Use rebar or wire mesh inside the forms to control cracking and strengthen the slab. Position reinforcement mid-depth on chairs or supports.
Mixing and Pouring Concrete
Choosing a Mix
For patios, a standard 3,000–4,000 psi mix is common. Additives like air entrainment improve freeze-thaw resistance, and plasticizers can improve workability.
Pouring Tips
Pour in sections to maintain control over finishing times. Use a concrete vibrator or tamping rod to eliminate air pockets and settle the mix. Screed across the forms to level the surface before floating.
Finishing and Joints
After the initial set, float the surface to consolidate and bring cream to the surface for finishing. For a non-slip texture, use a broom finish. Install control joints at intervals (usually 8–12 feet for patio slabs) to encourage cracking along planned lines.
Curing and Sealing
Proper curing prevents shrinkage cracks and improves strength. Keep the slab moist for at least 7 days using wet burlap, plastic sheeting, or a curing compound. After 28 days, apply a sealer to protect against stains, UV, and freeze-thaw damage. The right sealer depends on the finish—penetrating sealers for exposed aggregate, film-forming for stamped or colored surfaces.
Maintenance Tips
- Clean annually with a mild detergent and a stiff brush or pressure washer on a low setting.
- Reseal every 2–5 years depending on exposure and sealer type.
- Address hairline cracks with concrete patching products before they grow.
- Use protective pads under heavy furniture to prevent scratching.
Costs and Timeline
Costs vary by region, size, finish, and whether you hire professionals. Expect basic poured concrete patio costs roughly between $6–$12 per square foot for a plain finish, and $12–$20+ per square foot for stamped or colored options. A typical small patio can be completed in 3–7 days (not including curing time). Hiring a contractor shortens the on-site timeline but adds labor costs.
DIY vs. Hiring a Professional
DIY can save money if you’re comfortable with heavy labor and have basic carpentry and concrete finishing skills. For complex shapes, decorative finishes, or large slabs, hiring a licensed concrete contractor ensures proper mix selection, finishing, and warranty-backed work. Get multiple quotes, check references, and confirm insurance and licenses.
Conclusion
A well-planned concrete patio adds functional outdoor living space and long-term value to your home. With proper site prep, correct mix and reinforcement, and diligent curing and sealing, your patio can last decades. Whether you tackle the job yourself or hire a pro, attention to the details above will ensure a durable, attractive result.