Irrigation System Installation: A Step-by-Step Guide for a Healthier, Greener Yard
Why Install an Irrigation System?
Installing an irrigation system is one of the best upgrades you can make for your lawn and landscaping. Instead of dragging hoses around or guessing how long to run a sprinkler, an automated system delivers the right amount of water where it’s needed—on a schedule that works for you.
A well-designed irrigation setup can help you:
- Save time with automatic watering
- Improve plant health by applying water consistently
- Reduce water waste by targeting specific zones
- Boost curb appeal with a greener lawn and thriving beds
Planning Your Irrigation System Installation
Great irrigation starts with smart planning. Skipping this step often leads to dry spots, soggy areas, or high water bills. Before you buy parts or start digging, map out the space and consider how water moves across your property.
Evaluate Your Landscape and Water Needs
Walk your yard and take note of sunny vs. shady areas, slopes, and the types of plants you’re watering. Lawns typically need more frequent, even coverage, while flower beds, shrubs, and trees often do better with slower, deeper watering.
Also consider soil type:
- Sandy soil drains quickly and may need shorter, more frequent cycles.
- Clay soil absorbs slowly and is prone to runoff—cycle-and-soak scheduling helps.
- Loam is ideal and holds moisture more evenly.
Choose the Right Type: Sprinkler vs. Drip Irrigation
Most homes use one (or a combination) of these systems:
- Sprinkler systems are ideal for turf areas. Options like rotary heads cover larger spaces, while spray heads work well for smaller zones.
- Drip irrigation is great for garden beds, shrubs, and trees. It delivers water at the root zone, reducing evaporation and overspray.
If you have both lawn and planting beds, a hybrid system is often the most efficient.
Design Zones for Efficient Watering
Water needs vary by area, so dividing your landscape into zones (also called stations) is essential. A good zone design groups plants with similar water requirements and uses the right type of emitter for that area.
Common zone examples include:
- Front lawn (spray or rotary)
- Back lawn (rotary)
- Side yard or narrow strips (spray or specialty nozzles)
- Flower beds (drip)
- Trees/shrubs (drip or bubbler)
Check Local Codes, Permits, and Backflow Requirements
Many municipalities require a permit and a backflow prevention device to protect your drinking water from contamination. Requirements vary by location, so it’s worth checking with your local building department or water provider before installation begins.
Tools and Materials You’ll Need
Having the right supplies on hand makes irrigation system installation smoother and helps avoid mid-project runs to the store. Your exact list will depend on your design, but here’s a general starting point.
Common Tools
- Shovel or trenching spade (or a trencher for larger yards)
- Tape measure and marking paint/flags
- PVC cutter or saw
- Adjustable wrench and screwdrivers
- Wire stripper and waterproof wire connectors
Typical Materials
- PVC or poly pipe (based on system type and local standards)
- Sprinkler heads and/or drip tubing and emitters
- Valves and valve box
- Irrigation controller (timer) and irrigation wire
- Fittings, primer/cement (for PVC), clamps (for poly)
- Backflow preventer (if required)
- Pressure regulator and filter (especially for drip irrigation)
Step-by-Step Irrigation System Installation
Once you’ve planned your layout and gathered materials, you’re ready to install. The steps below follow a typical residential setup with zones controlled by valves and a timer.
1) Mark Utilities and Lay Out the System
Before digging, call your local utility marking service to locate underground lines. Then, use flags or marking paint to outline trench paths, valve locations, and sprinkler head placement.
Pro tip: Place sprinkler heads so they provide head-to-head coverage—each sprinkler should reach the next one. This helps prevent dry patches.
2) Dig Trenches and Prepare the Valve Manifold
Dig trenches along your marked routes. Depth varies by region and pipe type, but many systems place lines deep enough to protect from accidental damage and seasonal temperature changes. Install a valve box in an accessible location (not buried under mulch or hardscape).
Next, assemble the valve manifold (the cluster of zone valves) according to your plan, making sure flow direction is correct.
3) Install Mainline, Lateral Lines, and Fittings
Run your mainline from the water source to the valve manifold. From each valve, run lateral lines to the sprinklers or drip zones. Take your time with fittings—clean cuts and proper connections prevent headaches later.
If you’re using PVC, follow best practices for priming and cementing joints. If you’re using poly pipe, ensure clamps are tight and fittings are seated fully.
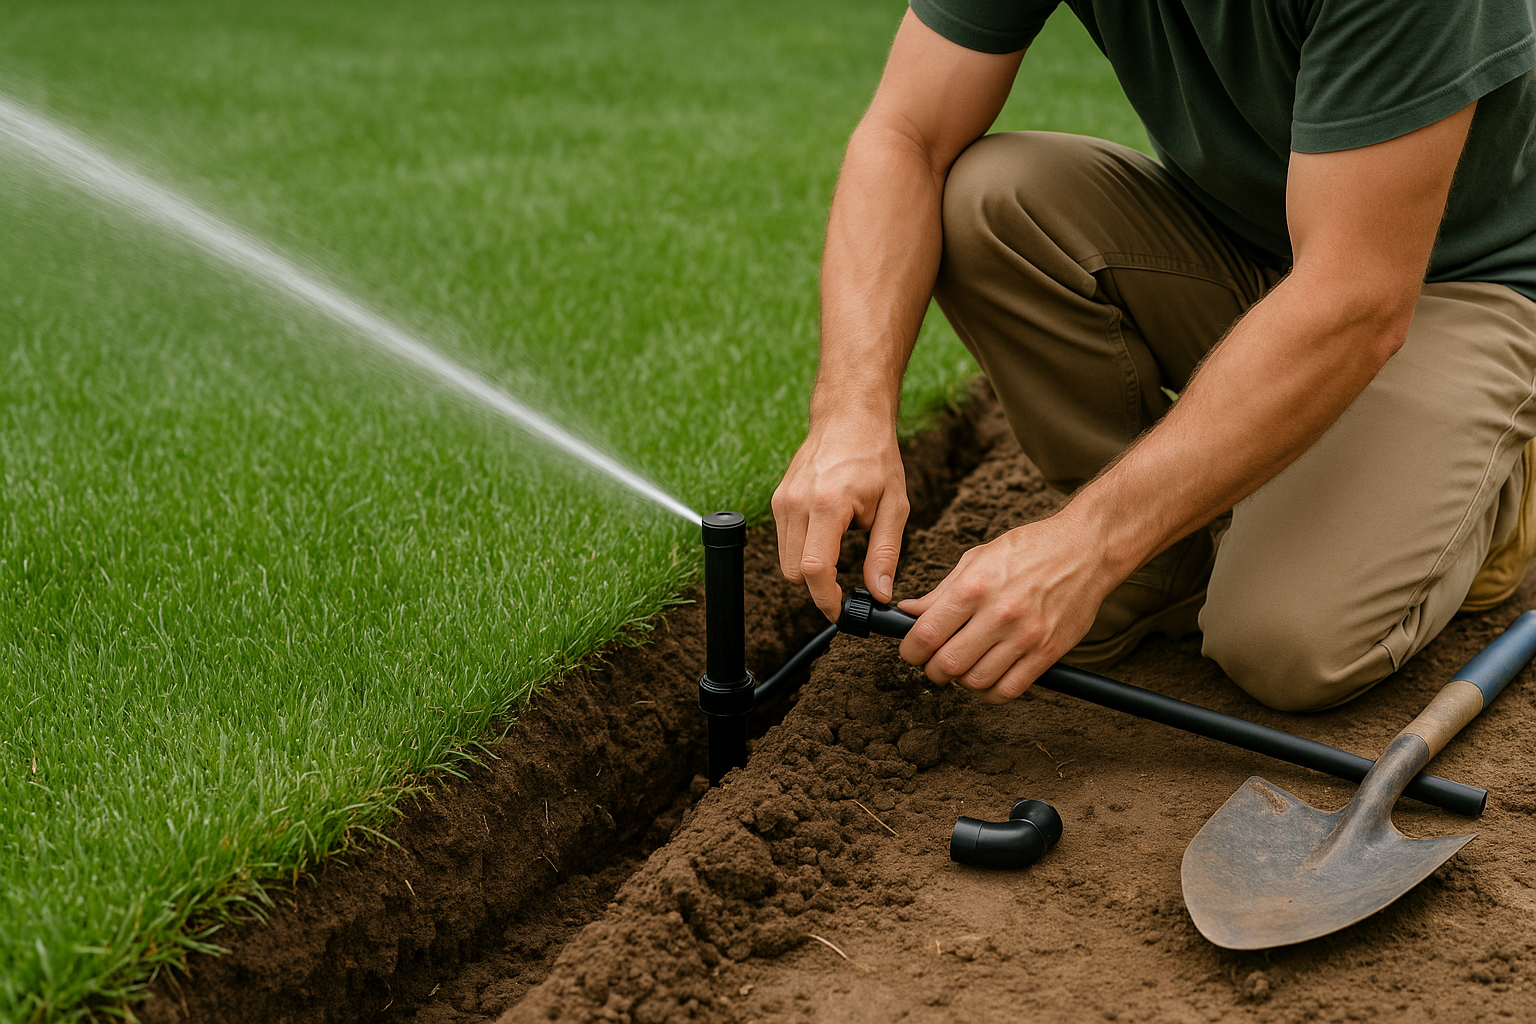
4) Place Sprinkler Heads or Drip Emitters
Install sprinkler heads at grade (flush with the soil surface) so they’re less likely to be damaged by mowers. Use swing joints or flexible risers where appropriate to make positioning easier and reduce stress on fittings.
For drip zones, install a filter and pressure regulator, then lay drip tubing along plant rows and secure it with stakes. Place emitters near root zones—not right against stems—to encourage deeper, healthier roots.
5) Wire Valves to the Controller
Run irrigation wire from the controller to the valve box. Each valve typically has a common wire and a zone wire. Use waterproof connectors designed for underground use to prevent corrosion and intermittent electrical issues.
Mount the controller in a protected, convenient spot (garage, utility area, or exterior-rated location). If your controller supports it, consider adding a rain sensor or weather-based smart controller features to reduce unnecessary watering.
6) Flush, Test, and Adjust Coverage
Before installing final nozzles (or before closing ends of drip lines), flush the system to clear dirt and debris. Then test each zone:
- Check for leaks at joints and fittings
- Confirm all heads pop up and rotate/spray properly
- Adjust spray patterns to avoid sidewalks, driveways, and fences
- Ensure drip emitters are flowing consistently
Small adjustments here can make a big difference in performance and water use.
7) Backfill Trenches and Program the Schedule
Once everything is working correctly, backfill trenches carefully, avoiding sharp rocks around pipe. Replace sod or mulch as needed, and water the area lightly to help the soil settle.
When programming, start with a conservative schedule and adjust based on plant response and local watering guidelines. Early morning watering typically reduces evaporation and wind drift.
Common Mistakes to Avoid
Even a well-intentioned DIY installation can run into trouble. Here are a few pitfalls that can cause uneven watering, wasted water, or costly repairs:
- Mixing sprinkler head types in the same zone (spray and rotary heads apply water at different rates)
- Underestimating water pressure or flow, leading to weak coverage and poor performance
- Skipping filtration/pressure regulation on drip systems, which can clog emitters
- Poor head spacing that creates dry spots between sprinklers
- Burying valve boxes too deep or placing them where they’re hard to access
When to Hire a Professional Installer
If your yard is large, has tricky elevation changes, or requires a backflow device and permits, hiring a professional can be a smart investment. Pros can calculate flow rates accurately, design efficient zones, and install everything to code—often with a warranty for added peace of mind.
That said, smaller, straightforward yards can be a great DIY project if you’re comfortable digging, measuring, and following a plan carefully.
Conclusion
Irrigation system installation is part planning, part precision, and a little bit of sweat—especially when it comes to trenching. With the right design, properly separated zones, and careful testing, you’ll end up with a system that keeps your landscape healthy while using water wisely. Whether you DIY or hire a pro, a well-installed irrigation system pays you back in greener grass, happier plants, and fewer watering headaches.