How to Install a Concrete Patio: A Step-by-Step Guide
Introduction
Installing a concrete patio is one of the most durable and cost-effective ways to add outdoor living space to your home. Whether you’re a seasoned DIYer or tackling your first big project, this guide walks through planning, materials, pouring, finishing, and maintenance so your patio looks great and lasts for decades.
Planning and Design
Good planning saves time, money, and headaches. Before you break ground, think through size, location, slope, and local regulations.
Determine size and layout
Sketch the patio on graph paper or use a simple app. Consider furniture, grill clearance, foot traffic, and transitions to doors or walkways. Typical patio slabs range from 8×8 feet for small seating areas to much larger for outdoor kitchens and entertaining.
Set the slope and drainage
Concrete patios need a slight slope to shed water—about 1/8 to 1/4 inch per foot away from your house. Avoid pooling by planning drainage routes or integrating a channel drain if needed.
Check permits and utilities
Contact your local building department to see if a permit is required. Also call 811 (or your local utility-locate service) to mark underground utilities before digging.
Materials and Tools
Gather the right materials and tools before you start. This keeps the project moving and reduces downtime.
Materials
- Ready-mix concrete or bagged concrete mix
- Gravel or crushed stone for base
- Form boards (usually 2×6 or 2×8 lumber)
- Rebar or wire mesh for reinforcement
- Concrete sealer and curing compound
- Expansion joint material (foam or premade strips)
Tools
- Shovel and wheelbarrow
- Plate compactor or hand tamper
- Level, string line, and stakes
- Concrete mixer (or order ready-mix truck)
- Screed board, bull float, trowels, and edger
- Safety gear: gloves, eye protection, knee pads, mask
Preparing the Site
Proper site preparation is the foundation of a long-lasting patio.
Excavation
Dig down to allow for base material and slab thickness—typically 6–8 inches for a residential patio. Remove roots, organic material, and large rocks. Slope the excavated area according to your drainage plan.
Base and compaction
Spread 4–6 inches of gravel or crushed stone and compact it thoroughly. A well-compacted base prevents settling and cracking. Use a plate compactor or hand tamper for small projects.
Install forms and reinforcement
Set form boards square and level, bracing them to resist the pressure of wet concrete. Place reinforcement—wire mesh or rebar—on small chairs so it sits mid-depth in the slab for added strength.
Mixing, Pouring, and Finishing
These are the hands-on steps where the patio takes shape. Timing and teamwork matter, especially for larger pours.
Mixing and pouring
If using bagged concrete, follow the manufacturer’s water ratio. For larger slabs, schedule a ready-mix truck. Pour concrete evenly, working from one end to the other, and distribute it close to where it will be finished.
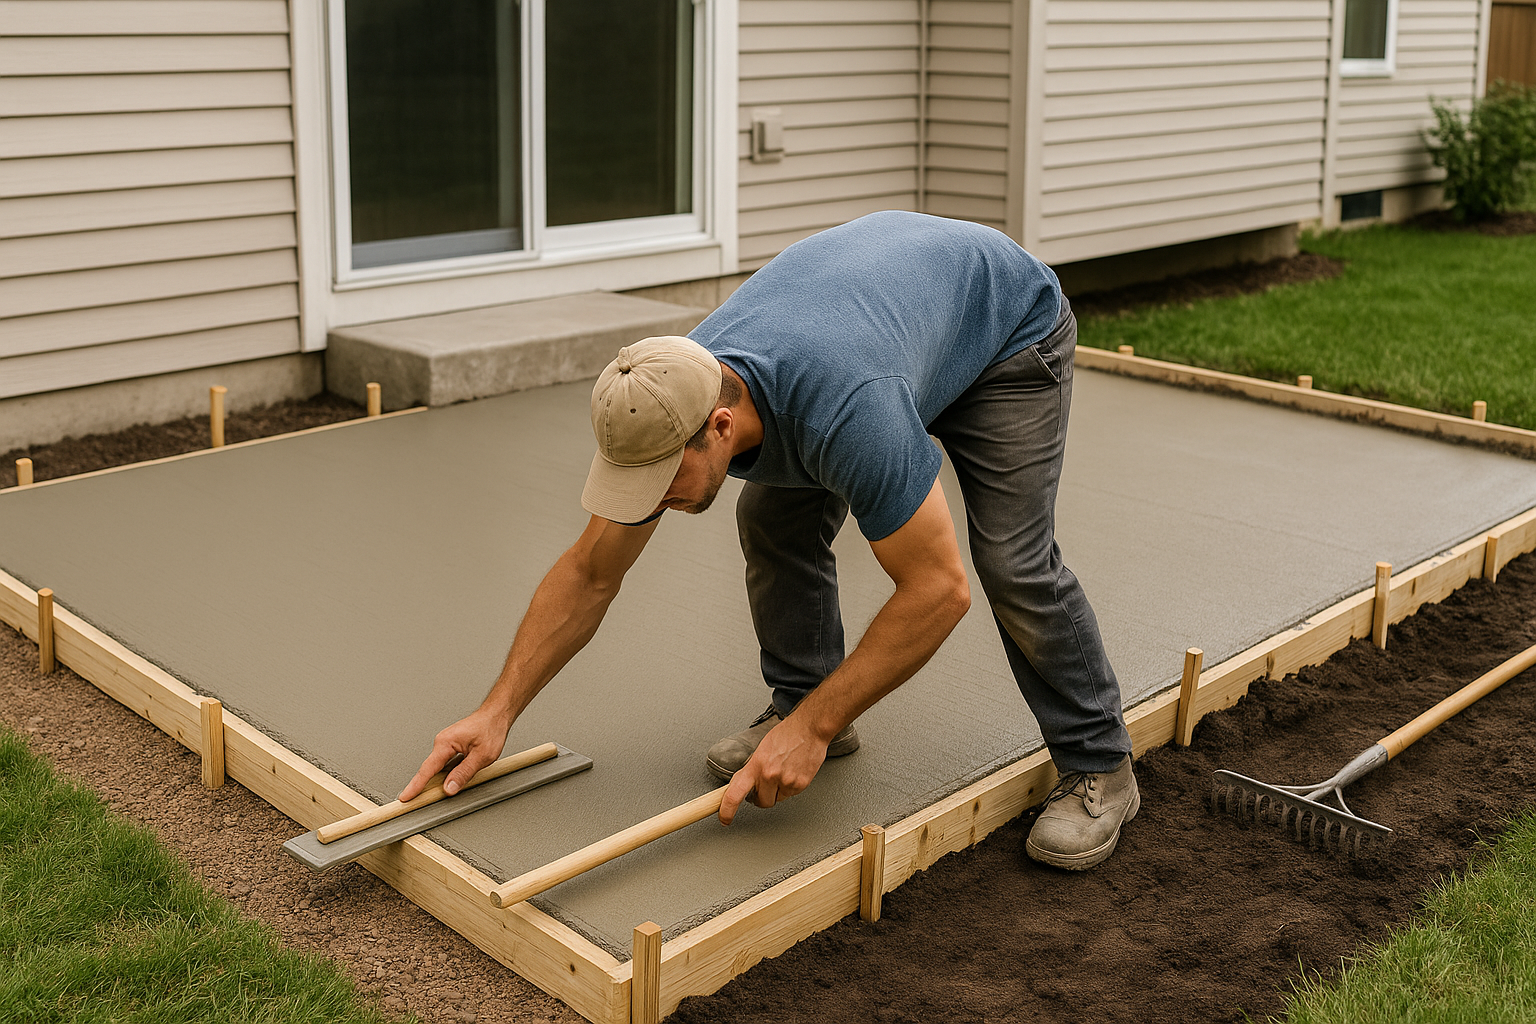
Screeding and leveling
Use a straight screed board to strike off excess concrete and bring the surface to the level of your forms. Move the screed in a sawing motion to fill low spots.
Floating and finishing
After screeding, use a bull float to smooth the surface and push aggregate down. When bleed water evaporates, use a hand float to refine the finish. Apply edging tools to round the slab edges and a groover to create control joints—these help manage cracking.
Curing and Sealing
Curing is crucial for concrete strength and durability. Rushing this step increases the risk of cracking and surface dusting.
Curing techniques
- Keep the surface moist for at least 7 days—use wet burlap, plastic sheeting, or a curing compound.
- Avoid heavy loads for at least a week; full strength develops over 28 days.
Sealing
Apply a concrete sealer once the slab has cured (usually 28 days) to protect against stains, freeze-thaw cycles, and UV. Choose a sealer appropriate for exterior patios—penetrating or film-forming options exist depending on desired look and slip resistance.
Maintenance and Troubleshooting
A little maintenance goes a long way toward keeping your patio attractive and functional.
Routine care
- Keep the surface clean by sweeping and occasional power washing.
- Reapply sealer every 2–4 years depending on wear and climate.
Common issues
- Small cracks: fill with concrete crack sealant or flexible caulk.
- Settling: localized sinking may require mudjacking or re-leveling by a pro.
- Stains: use appropriate cleaners for oil, rust, or organic stains before resealing.
When to Hire a Professional
For large slabs, complex grading, drainage issues, or if local codes require engineered designs, hiring a licensed contractor is wise. Pros can ensure proper thickness, reinforcement, and finish quality for heavy use areas like firepits or outdoor kitchens.
Conclusion
Installing a concrete patio is a rewarding project that boosts outdoor living and home value. With careful planning, the right materials, and attention to proper forming, pouring, and curing, you can create a durable and attractive outdoor space that lasts for years. Take your time on preparation and don’t hesitate to call a pro for tricky portions—good groundwork pays off.