DIY Patio Installation: Step-by-Step Guide to Build a Lasting Outdoor Space
Why Install a DIY Patio?
A patio transforms a backyard into usable living space without the cost of a full remodel. With careful planning and the right materials, a DIY patio installation is achievable for many homeowners. This guide walks you through planning, prep, installation, and maintenance so you can create a durable, attractive patio that fits your budget and style.
Planning and Design
Start by defining the patio’s purpose: dining, lounging, or both. Measure the area and sketch a layout. Consider sun exposure, proximity to your home, and existing landscaping. Check local building codes and call your local utility locating service before digging.
Size, Shape, and Slope
Common patio sizes range from 10×10 ft for a small seating area to 12×16 ft or larger for dining. Keep a slight slope—about 1/8″ to 1/4″ per foot—away from the house to ensure proper drainage.
Materials and Style
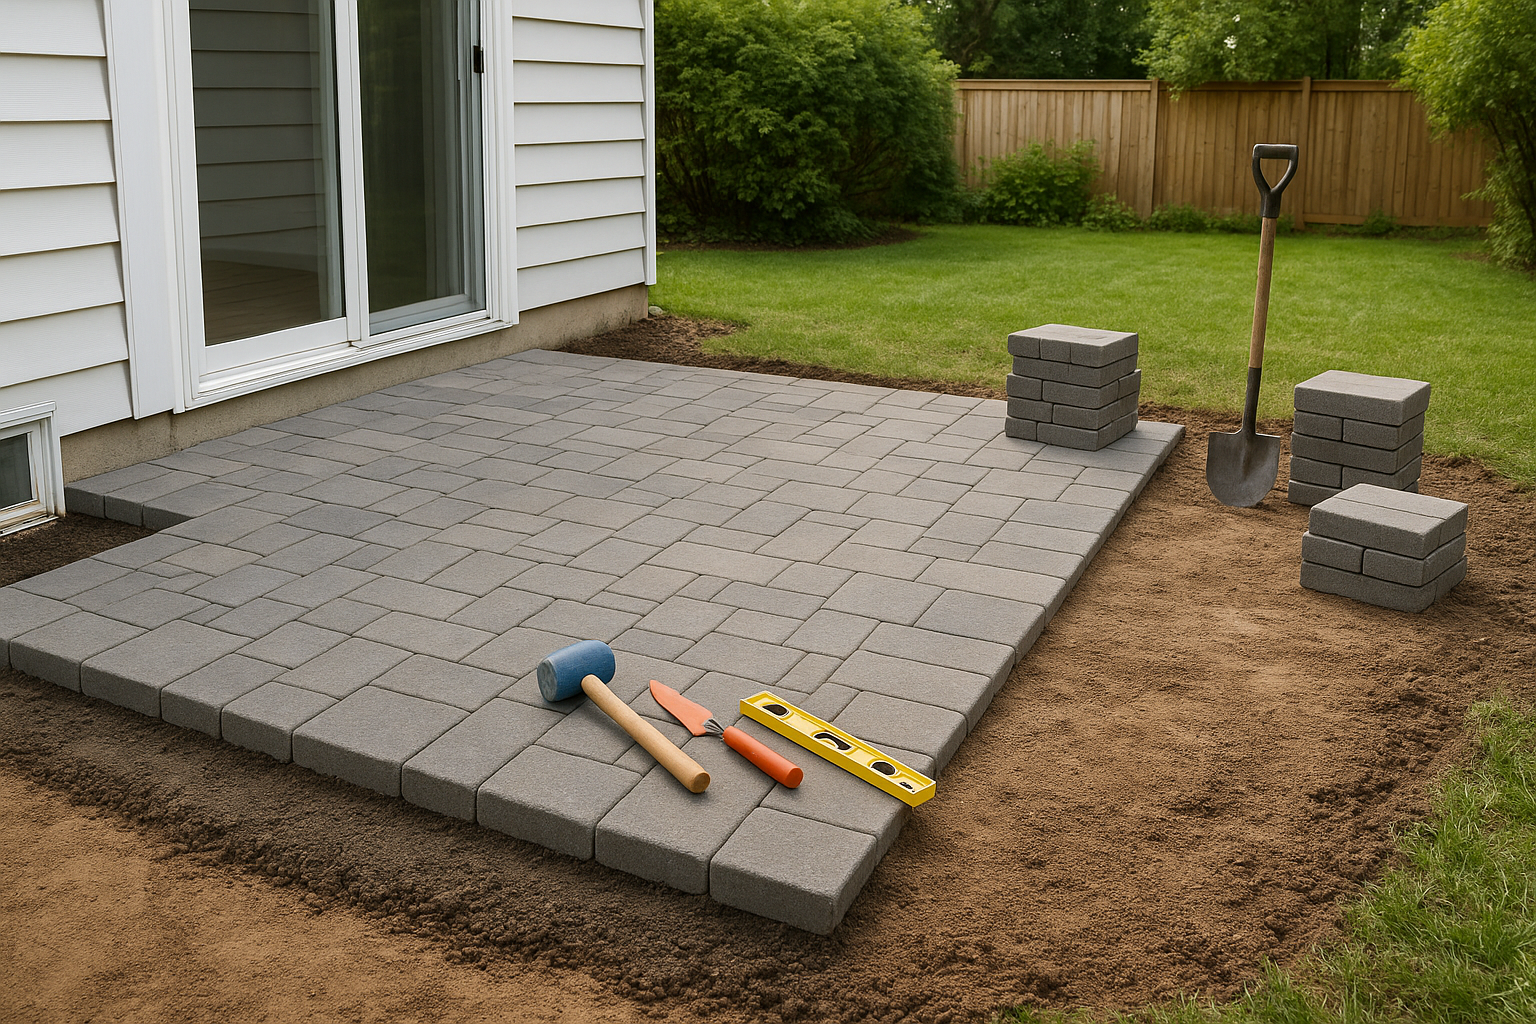
Popular patio surfaces include concrete, brick, pavers, and natural stone. Pavers are especially DIY-friendly because they interlock and are easy to replace. Choose colors and textures that complement your home and landscaping.
Tools and Materials You’ll Need
- Pavers, concrete, or flagstone
- Gravel (crushed stone) and coarse sand or polymeric sand
- Landscape fabric (optional)
- Edge restraints (plastic, metal, or concrete)
- Plate compactor (rent if needed)
- Shovel, rake, wheelbarrow, level, string line, and measuring tape
- Masonry saw or wet saw for cutting pavers
- Broom and garden hose
- Safety gear: gloves, eye protection, ear protection
Preparing the Site
Proper site preparation is the foundation of a long-lasting patio. Take your time here—quality results depend on a stable base.
Excavation
Mark the perimeter with stakes and string. Excavate to a depth that accommodates the base materials plus the paver thickness. Typical excavation depths are 6–8 inches for pedestrian patios; adjust for frost depth in cold climates or heavier loads.
Base and Compaction
Install 4–6 inches of crushed stone or gravel and compact it with a plate compactor in 2-inch lifts. A well-compacted base prevents settling and shifting. If you have poor soil, consider a thicker base or adding geotextile fabric to improve stability.
Laying the Patio Surface
Setting the Bedding Layer
Spread a 1-inch layer of coarse sand or a bedding mix over the compacted base and screed it smooth using two screed rails and a straight board. This creates a level surface for pavers to sit on while allowing minor adjustments.
Placing Pavers or Stones
Start at a straight edge or corner and lay pavers tightly together in your chosen pattern—running bond, herringbone, or basket weave. Use a rubber mallet to tap pavers into place and keep them level. Maintain the slope for drainage as you go.
Cutting and Fitting
Make cuts as needed for edges and odd shapes using a masonry saw or a splitter. Take careful measurements and wear eye protection when cutting.
Edge Restraints and Jointing
Install edge restraints to prevent pavers from spreading. Once the patio is fully laid, sweep polymeric sand or regular jointing sand into the joints and compact the surface with the plate compactor. Sweep additional sand over the joints and compact again until joints are filled solid.
Finishing Touches
- Brush the surface clean and hose it down gently after using polymeric sand (follow manufacturer instructions).
- Seal the pavers if desired to enhance color and protect against stains.
- Add landscaping, outdoor furniture, lighting, and planters to complete the space.
Maintenance Tips
Routine maintenance extends the life of your patio. Sweep regularly, remove weeds from joints, and reapply joint sand or sealant as needed. For sandy joints, re-sweep and compact every few years. Address any settling or loose pavers promptly by removing the affected area, releveling the base, and relaying the pavers.
Common Mistakes to Avoid
- Skipping proper compaction—this leads to settling and uneven pavers.
- Ignoring slope and drainage—water pooling near the house causes damage.
- Using the wrong sand—use coarse bedding sand and polymeric or jointing sand for joints.
- Failing to install edge restraints—without them, pavers can spread and shift.
When to Call a Pro
If your project involves heavy loads (driveways), complex grading, or poor soil conditions, consult a professional. Likewise, if you’re unsure about local codes or utility locations, a contractor can help avoid costly mistakes.
Conclusion
A DIY patio installation is a rewarding weekend (or series of weekends) project that can add functional outdoor living space and boost your home’s appeal. With good planning, the right tools, and attention to the base and drainage, you can build a patio that looks great and lasts for years.