DIY Landscape Irrigation: A Practical Guide to Planning, Installing, and Maintaining Your System
Why DIY Landscape Irrigation Is Worth It
Keeping a yard healthy shouldn’t mean dragging hoses around every evening or watching water run down the driveway. A well-planned DIY landscape irrigation system helps you water more consistently, reduce waste, and free up your time. The best part? You can start small—maybe a drip line for garden beds—and expand later as your needs (and confidence) grow.
Whether you’re managing thirsty new plantings, uneven lawn coverage, or strict watering schedules, DIY irrigation can give you better results with less effort—without paying for a full professional install.
Step 1: Plan Your DIY Irrigation System
Good planning is the difference between a system you love and one you’re constantly adjusting. Before buying parts, spend a little time mapping your yard and understanding your water supply.
Map your yard and identify watering zones
Start with a simple sketch of your property. Mark lawns, garden beds, shrubs, trees, slopes, sunny vs. shady areas, and any hardscaping. Then create watering zones based on plant needs and sun exposure. For example:
- Lawn zone: typically needs broader coverage (sprays or rotors)
- Flower/vegetable beds: best with drip irrigation for targeted watering
- Shrubs/hedges: drip line or bubblers depending on plant spacing
- New trees: deep, slow watering (drip emitters or tree bubblers)
Grouping similar plants together helps you avoid overwatering some areas while under-watering others.
Check water pressure and flow rate
Your available water pressure and flow rate determine how many sprinklers or drip lines you can run at once. A quick way to check:
- Pressure: use an inexpensive hose-bib pressure gauge on an outdoor spigot
- Flow rate: time how long it takes to fill a 5-gallon bucket; convert to gallons per minute (GPM)
If pressure is low, you may need smaller zones, fewer heads per zone, or a drip-first approach. Knowing these numbers early prevents frustrating performance issues later.
Choose between drip irrigation and sprinklers (or both)
Most DIY landscape irrigation setups are a mix of both:
- Drip irrigation: efficient, low evaporation, ideal for beds and shrubs
- Sprinklers (spray heads/rotors): better for lawns and large open areas
If water efficiency is your top priority, lean heavily into drip for planting areas and keep sprinkler zones limited to turf.
Step 2: Gather Tools and Materials
Once your plan is set, you can build a shopping list. Buying everything up front saves repeat trips and helps you keep the project moving.
Basic tools you’ll likely need
- Shovel or trenching spade (or a rental trencher for larger yards)
- Tape measure and marking paint/flags
- Pipe cutter (PVC) or tubing cutter (poly)
- Screwdrivers, pliers, and adjustable wrench
- Drill (helpful for mounting controllers/timers)
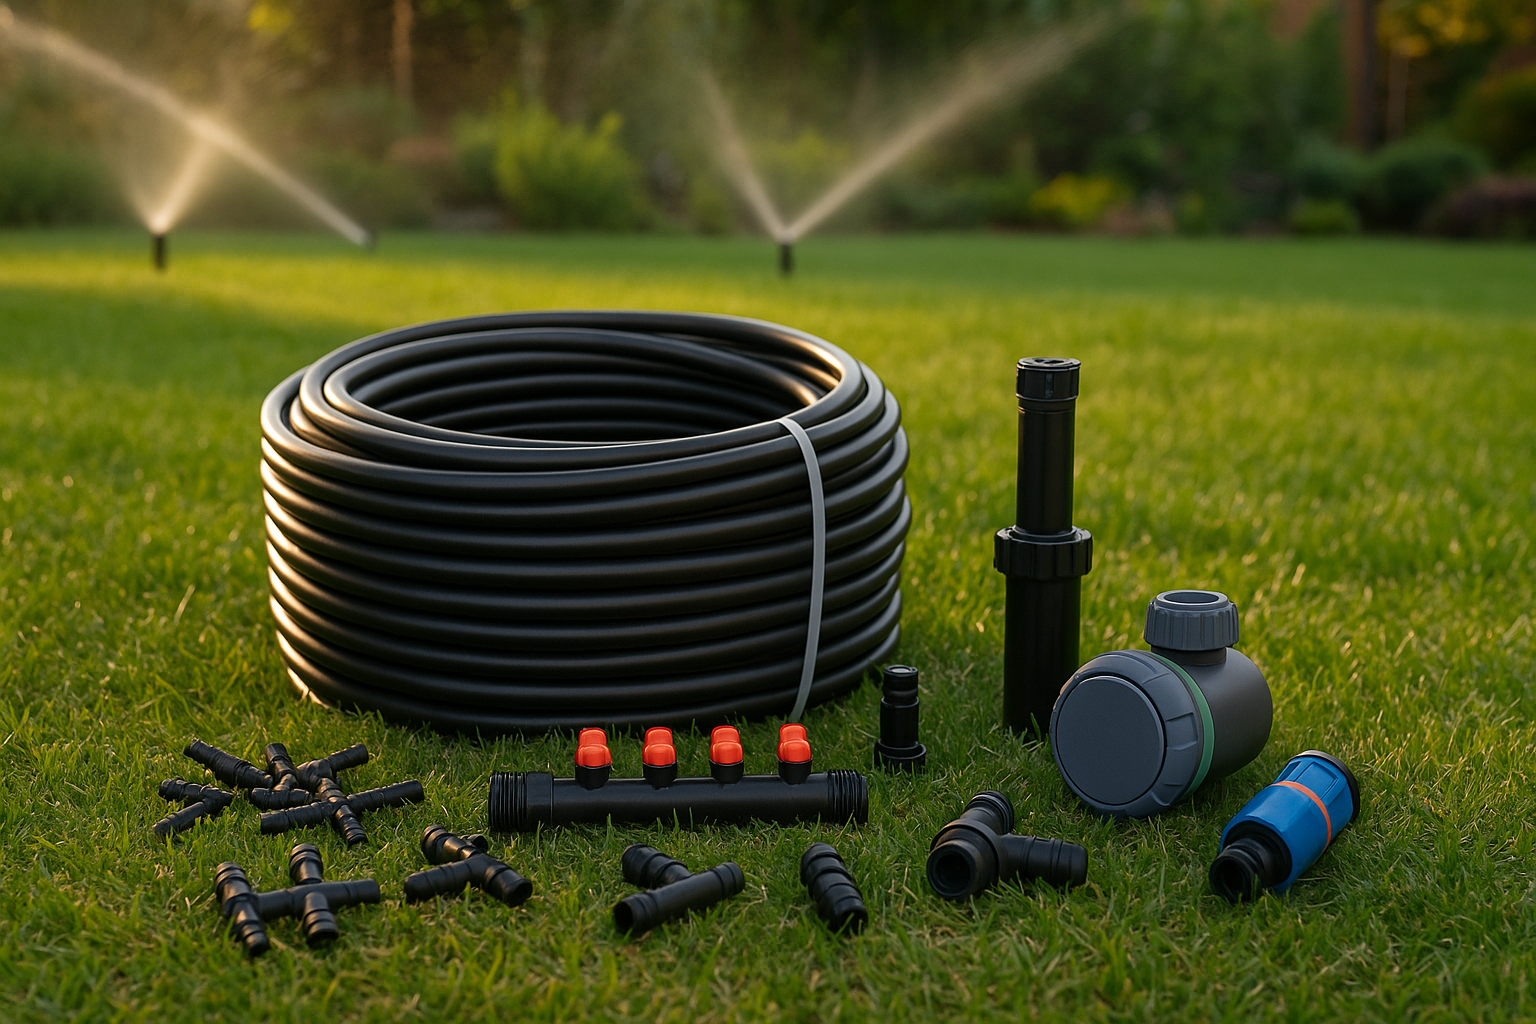
Common irrigation components
- Backflow preventer (often required by code—check local rules)
- Valve manifold (one valve per zone)
- Controller/timer (smart controllers make scheduling easier)
- PVC or poly pipe for mainlines and laterals
- Sprinkler heads (sprays, rotors) and/or drip tubing
- Pressure regulator and filter (essential for drip systems)
- Fittings (elbows, tees, couplings) and primer/cement for PVC
Tip: Stick to one brand ecosystem when possible—threading and fittings can vary, and mixing parts can create leaks or headaches.
Step 3: Install Your DIY Landscape Irrigation
Installation is where your plan becomes reality. Work zone by zone to keep the process organized and to simplify troubleshooting.
Lay out lines and mark sprinkler/drip locations
Use marking paint or flags to show where trenches will run and where heads/emitters will go. For sprinklers, aim for head-to-head coverage (each sprinkler reaches the next) to reduce dry spots. For drip, plan emitter spacing based on plant size and soil type—sandy soil often needs closer spacing than clay.
Dig trenches and run pipe or tubing
Typical trench depth varies by climate and code, but many DIY installs bury lines around 6–12 inches deep. Keep trenches neat and avoid sharp bends that can kink poly tubing or stress PVC. If you’re in a region with freezing winters, deeper burial and proper winterization matter more.
Connect valves, zones, and a controller
Install valves in an accessible valve box area. Each valve controls one zone. Run irrigation wire from the controller to each valve (and label it). Take your time here—clean wiring and clear labels make future changes much easier.
If you’re keeping it simple, a hose-bib timer can power a small drip system. For full-yard coverage, a multi-zone controller is typically the better long-term solution.
Add sprinkler heads or drip emitters
For sprinklers, set heads at the correct height so they sit level with the soil after backfilling. For drip, install a filter and pressure regulator, then connect tubing and emitters (or dripline). Secure tubing with stakes so it doesn’t wander over time.
Flush, test, and adjust for even coverage
Before installing final emitters or nozzles, flush lines to clear dirt and debris. Then test each zone:
- Check for leaks at fittings and risers
- Confirm full pop-up and consistent spray pattern
- Adjust sprinkler arcs/direction to avoid sidewalks and fences
- For drip, ensure every emitter is flowing and no sections are pinched
Once everything runs clean, backfill trenches and re-test. Small adjustments now save a lot of water later.
Step 4: Set a Watering Schedule That Makes Sense
A great DIY landscape irrigation system isn’t just installed—it’s tuned to your yard’s real needs. The goal is deep, efficient watering that encourages healthy roots.
Smart scheduling tips
- Water early morning to reduce evaporation and wind drift
- Use cycle-and-soak on slopes or clay soil to prevent runoff
- Adjust seasonally—spring and fall often need much less water
- Prioritize new plants with more frequent, lighter watering until established
If you can, add a rain sensor or upgrade to a smart controller that adapts to weather. It’s one of the easiest ways to cut waste without sacrificing plant health.
Step 5: Maintain and Troubleshoot Like a Pro
DIY irrigation doesn’t require constant attention, but a little routine maintenance keeps it running smoothly year after year.
Regular maintenance checklist
- Inspect sprinkler heads for clogs, misalignment, or damage
- Clean drip filters and replace clogged emitters
- Look for soggy spots (a sign of underground leaks)
- Trim plants that block sprays or interfere with coverage
- Update schedules as temperatures change
Common DIY irrigation problems (and quick fixes)
- Low pressure in a zone: reduce heads, check for leaks, or split into smaller zones
- Dry patches on lawn: adjust arcs/nozzles or improve head-to-head spacing
- Drip line not flowing: check filter/regulator, flush lines, inspect for kinks
- One valve won’t turn on: check wiring connections or replace the solenoid
If you live in a freezing climate, plan to winterize (drain lines or blow out with air) to prevent cracked pipes and fittings.
Conclusion
DIY landscape irrigation is one of the most rewarding home projects you can tackle: it saves time, reduces water waste, and keeps your yard looking its best. Start with a solid plan, build zones that match your plants, and test thoroughly before you bury everything. With a little maintenance and a smart schedule, your system will pay you back every season with healthier plants and fewer watering headaches.