Low Voltage Landscape Lighting: A Complete Guide to Brighter, Safer Outdoor Spaces
Low voltage landscape lighting is one of the most effective ways to enhance curb appeal, increase safety, and extend usable outdoor hours. Whether you want to highlight a specimen tree, softly illuminate a walkway, or add ambience to a patio, a thoughtfully designed low voltage system is energy-efficient, flexible, and often easy to install. This guide walks through how these systems work, design tips, installation basics, maintenance, common mistakes, and expected costs.
What is low voltage landscape lighting?
How it works
Low voltage landscape lighting operates at 12 volts, stepped down from your home’s standard 120-volt supply using a transformer. The reduced voltage makes fixtures safer to handle and easier to position around your yard. Most modern systems use LED bulbs, which consume less power and last far longer than incandescent options.
Benefits of low voltage lighting
Energy efficiency and safety
Using 12-volt systems with LED fixtures drastically cuts electricity use compared to traditional halogen or line-voltage systems. The lower voltage also reduces the risk of electrical shock during installation and upkeep.
Aesthetics and functionality
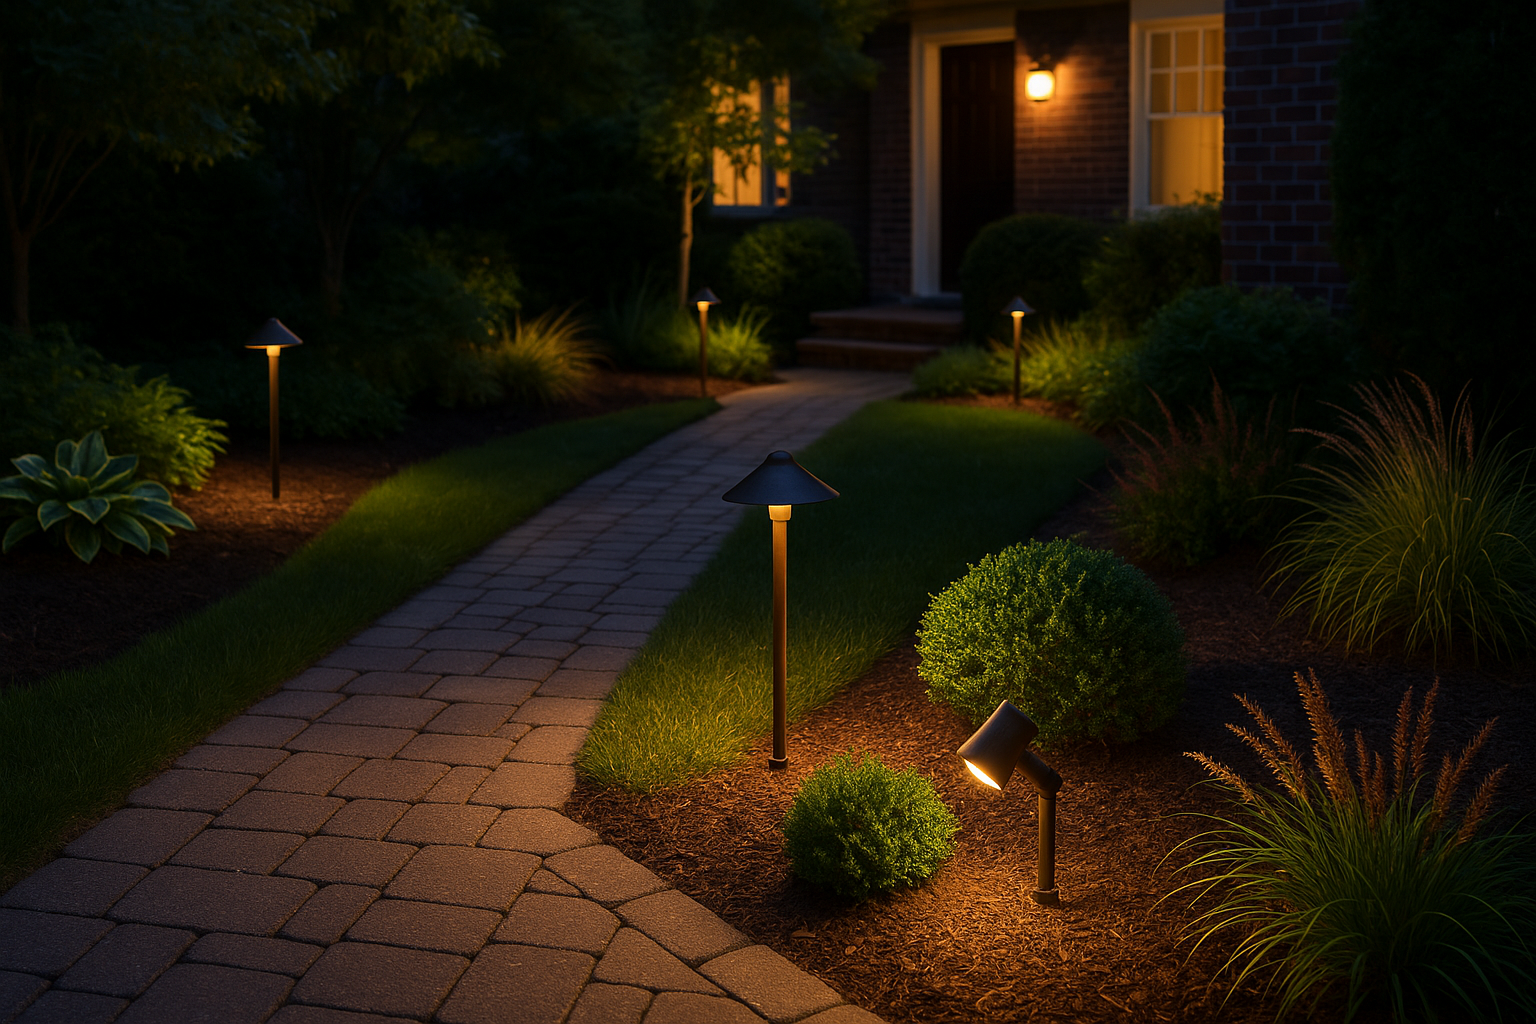
Properly placed lights create depth and texture, define paths, emphasize architectural features, and create cozy outdoor living areas. Low voltage systems allow subtle layering—ambient, accent, and task lighting—so landscapes look balanced and intentional after dark.
Flexibility
Because components are modular, you can expand or reconfigure your system as plantings mature or as you update hardscaping. Most systems accommodate timers, photocells, or smart controllers for automated operation.
Key components
Transformer
The transformer converts 120V household current to 12V for your fixtures and determines how many lights your system can support. Choose one with enough wattage capacity plus a margin for future expansion.
Fixtures and bulbs
Fixtures include path lights, spotlights, well lights, and deck lights. LEDs are recommended for longevity and low power draw. Pay attention to beam angle and lumen output to match the intended effect.
Cable and connectors
Underground-rated cable (typically 12/2 or 14/2 for low voltage) carries power from the transformer to fixtures. Use weather-resistant connectors and bury cable at the proper depth to protect it from damage.
Controls
Timers, photocells, or smart controllers automate run times and integrate with home automation systems for additional convenience and savings.
Design tips and placement
Layer your lighting
- Ambient: Soft lighting for general illumination of patios and seating areas.
- Accent: Spotlights or uplights to highlight trees, statues, or architectural elements.
- Task: Focused lighting for steps and pathways to improve safety.
Uplighting vs grazing
Use uplighting to dramatize trunks and facades; grazing light along walls or textured surfaces accentuates texture and shadow. Keep beams narrow for focused accents and wider for soft washes.
Spacing and placement
Position fixtures to avoid glare—hide them behind shrubs or rocks when possible. Space path lights so faces are evenly lit, and pull spotlights closer to features for stronger contrast. Consider color temperature: warm whites (2700K–3000K) create a welcoming atmosphere.
Basic installation overview
Planning and layout
Sketch your yard and mark key features and paths. Calculate total wattage to select the right transformer. Plan wire runs to minimize cable length and voltage drop.
Running cable and connecting fixtures
Lay the cable in shallow trenches or under mulch, using connectors to tap fixtures. Maintain proper polarity and secure connections with approved waterproof fittings. Test each fixture as you add it to the line.
Transformer placement and safety
Mount the transformer near the power source, elevated off the ground and shielded from direct weather. Install a GFCI-protected circuit and follow local electrical codes. If unsure, hire a licensed electrician.
Maintenance and troubleshooting
Seasonal checks
Every season, inspect fixtures for corrosion, clean lenses, and remove debris that may block light. Trim plants that grow into beams and adjust aiming as landscapes change.
Common issues
Dim lights often mean undersized transformer or voltage drop from long runs. Flickering can indicate loose connections or failing bulbs. Replace worn connectors and tighten screws to restore performance.
Common mistakes to avoid
- Undersizing the transformer—leave room for future additions.
- Overlighting—too many fixtures can flatten a scene and waste energy.
- Ignoring beam angle and color temperature—these determine mood and effectiveness.
- Poor placement that causes glare into neighbors’ yards or windows.
Cost and return on investment
Initial costs vary: a basic DIY kit might start under a few hundred dollars, while professionally designed and installed systems typically run from a few hundred to several thousand dollars depending on scale and fixture quality. Energy savings from LEDs and increased property appeal can offset costs over time, and well-lit landscaping often boosts curb appeal and perceived value.
Conclusion
Low voltage landscape lighting is an accessible, energy-efficient way to transform your outdoor space for beauty, safety, and usability. With sensible planning, quality components, and a bit of attention to placement and maintenance, you can create a layered, welcoming nighttime landscape that complements your home and lifestyle.