Landscape Lighting Installation: A Complete Guide to Plan, Install, and Maintain
Introduction
Landscape lighting transforms a yard from functional to unforgettable. Whether you want safe walkways, dramatic accenting for trees, or cozy patio ambiance, a thoughtful lighting installation increases curb appeal, extends outdoor living hours, and improves safety. This guide walks you through planning, equipment, installation steps, maintenance, and design tips so you can undertake a successful landscape lighting project.
Benefits of Landscape Lighting
- Safety and security: Illuminated paths and entries reduce tripping hazards and deter intruders.
- Enhanced curb appeal: Strategic lighting highlights architectural and landscape features for a welcoming look.
- Extended use: Outdoor spaces become usable after dark for entertaining and relaxing.
- Increased home value: Well-executed lighting is an attractive feature for potential buyers.
Planning and Design
Good results start with a plan. Walk the property at dusk to see how natural shadows fall, and identify focal points like trees, water features, sculptures, pathways, and entries. Sketch a layout showing fixture placement, conduit paths, and where the transformer will go. Consider layering light into zones: ambient, task, and accent to create depth and atmosphere.
Choosing Fixtures and Equipment
Most residential landscape systems use low voltage, typically 12V, for safety and flexibility. Key components include:
- Fixtures: Spotlights, floodlights, path lights, well lights, and step lights. Choose durable, weatherproof housings and LED lamps for longevity and energy efficiency.
- Transformer: Converts line voltage to low voltage and should match total wattage plus a safety margin. Digital or smart transformers add timers and remote control.
- Wire: Use outdoor-rated, direct-burial cable sized for run length and load. Commonly used is 12/2 or 14/2 landscape cable.
- Connectors and stakes: Waterproof connectors, mounting stakes, and grounding stakes for solar or low-voltage fixtures.
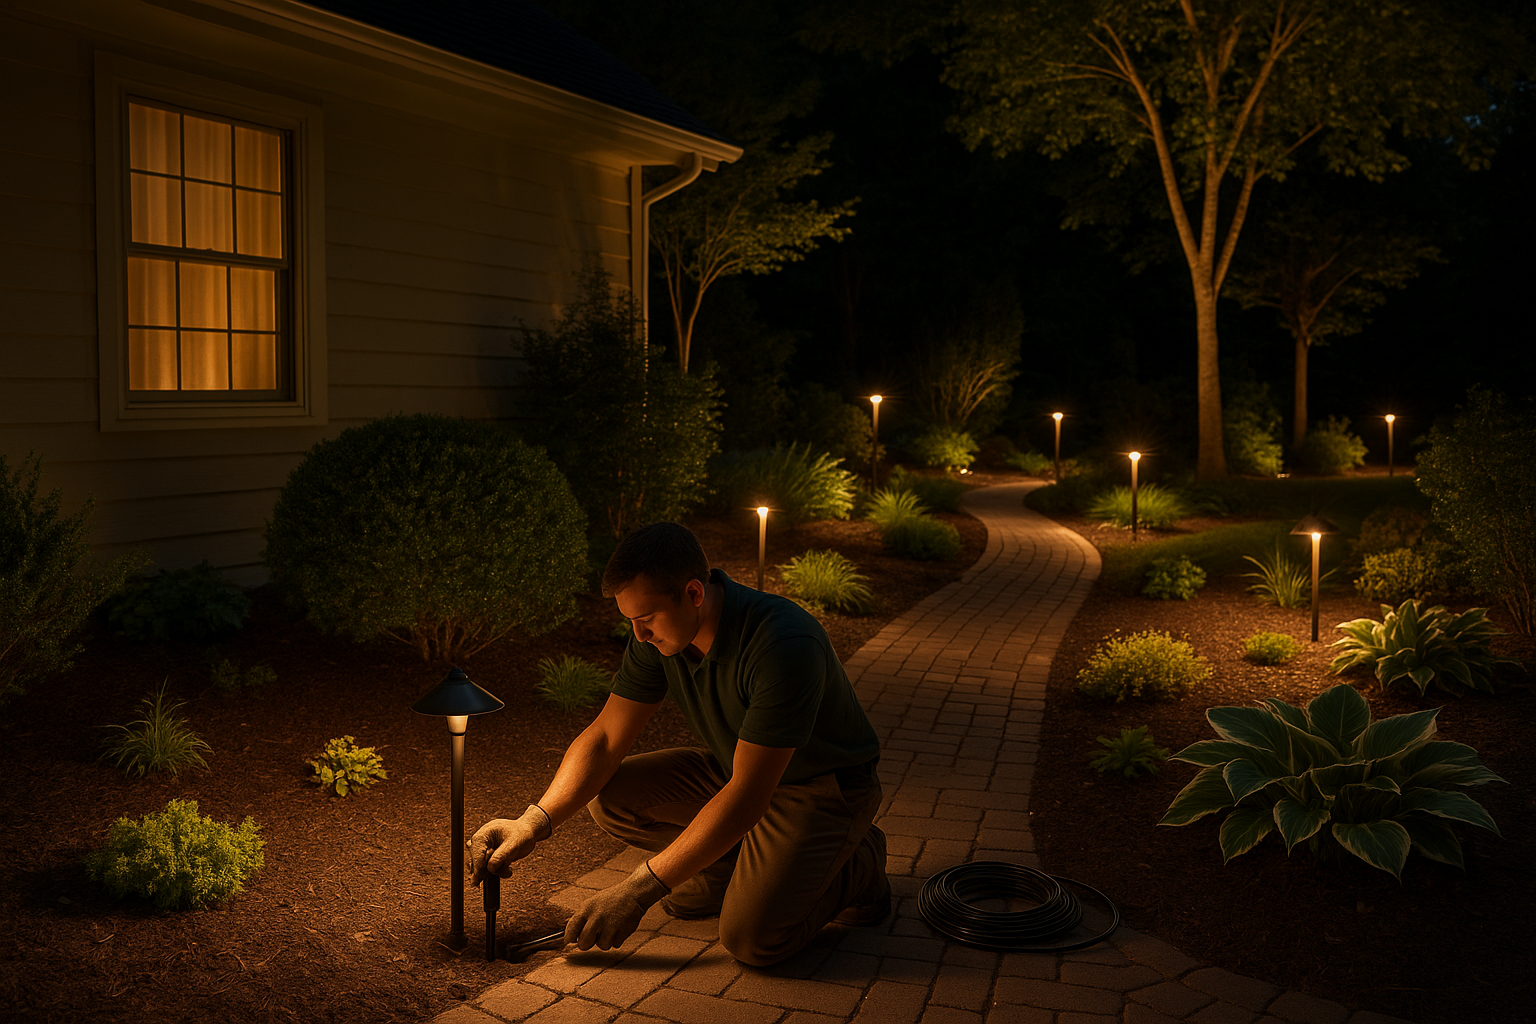
Step-by-Step Installation
1. Layout and Mock-Up
Lay out fixtures on the lawn before digging. Use temporary stakes or lights to check beam angles and coverage at night. Adjust positions until the balance of light and shadow suits your design.
2. Installing the Transformer and Power
Mount the transformer near an exterior outlet; follow local codes for mounting height and weather protection. Use a GFCI-protected circuit. If needed, hire a licensed electrician for hardwired installations or to add circuits.
3. Trenching and Wiring
Dig shallow trenches about 4 to 8 inches deep for low-voltage wire. Keep wiring runs as short as practical to avoid voltage drop. Run the cable from the transformer to each fixture location, leaving extra slack at fixture points for adjustments.
4. Connecting Fixtures
Make connections using waterproof connectors or gel-filled splice kits. Secure fixtures on stakes, pedestals, or mounting plates. Test each fixture before backfilling trenches so you can easily access connections if something does not light up.
5. Power On and Adjust
Once everything is connected, power the system and walk the property to tune beam angles and brightness. Shield fixtures to prevent glare and trim plant growth that blocks intended light paths.
Maintenance and Troubleshooting
Routine checks extend system life. Every 6 to 12 months:
- Clean lens covers and remove debris from fixtures.
- Inspect connectors for water intrusion and corrosion.
- Check transformer settings and timers, adjusting for daylight savings if needed.
- Replace damaged fixtures or LED modules as necessary.
Common problems include a single fixture out, which often indicates a loose connection, or dimming at far ends, usually caused by voltage drop. Correct these by tightening splices and reconfiguring runs or using a higher gauge wire.
Cost Considerations
Costs vary based on system size, fixture quality, and whether you hire a pro. Budget-friendly DIY installs focus on LED path lights and a midrange transformer. Buying durable fixtures upfront saves replacement costs. For complex designs, lighting control systems, or hardwired power, factor in professional labor.
Safety and Permitting
Check local codes and homeowners association rules before starting. While most low-voltage installations do not require permits, running line-voltage or adding circuits does. Follow electrical safety practices, use GFCI protection, and call a licensed electrician for any mains work.
Design Tips for Best Results
- Use warm color temperatures, around 2700K to 3000K, for a welcoming feel.
- Create layers: combine path lights for guidance, spotlights for focal points, and washes for expansive areas.
- Avoid overlighting; less is often more. Aim for subtlety and contrast.
- Use shields and angles to prevent light trespass into neighbors windows.
- Consider smart controls and motion sensors to save energy and add convenience.
Conclusion
A well-planned landscape lighting installation enhances safety, aesthetics, and usability of outdoor spaces. With careful planning, the right gear, and basic installation steps, you can create a beautiful and dependable lighting scheme. For complex electrical work or intricate designs, consult a professional to ensure safety and optimal results.