Landscape Design Software: Top Tools, Key Features, and How to Choose
Introduction
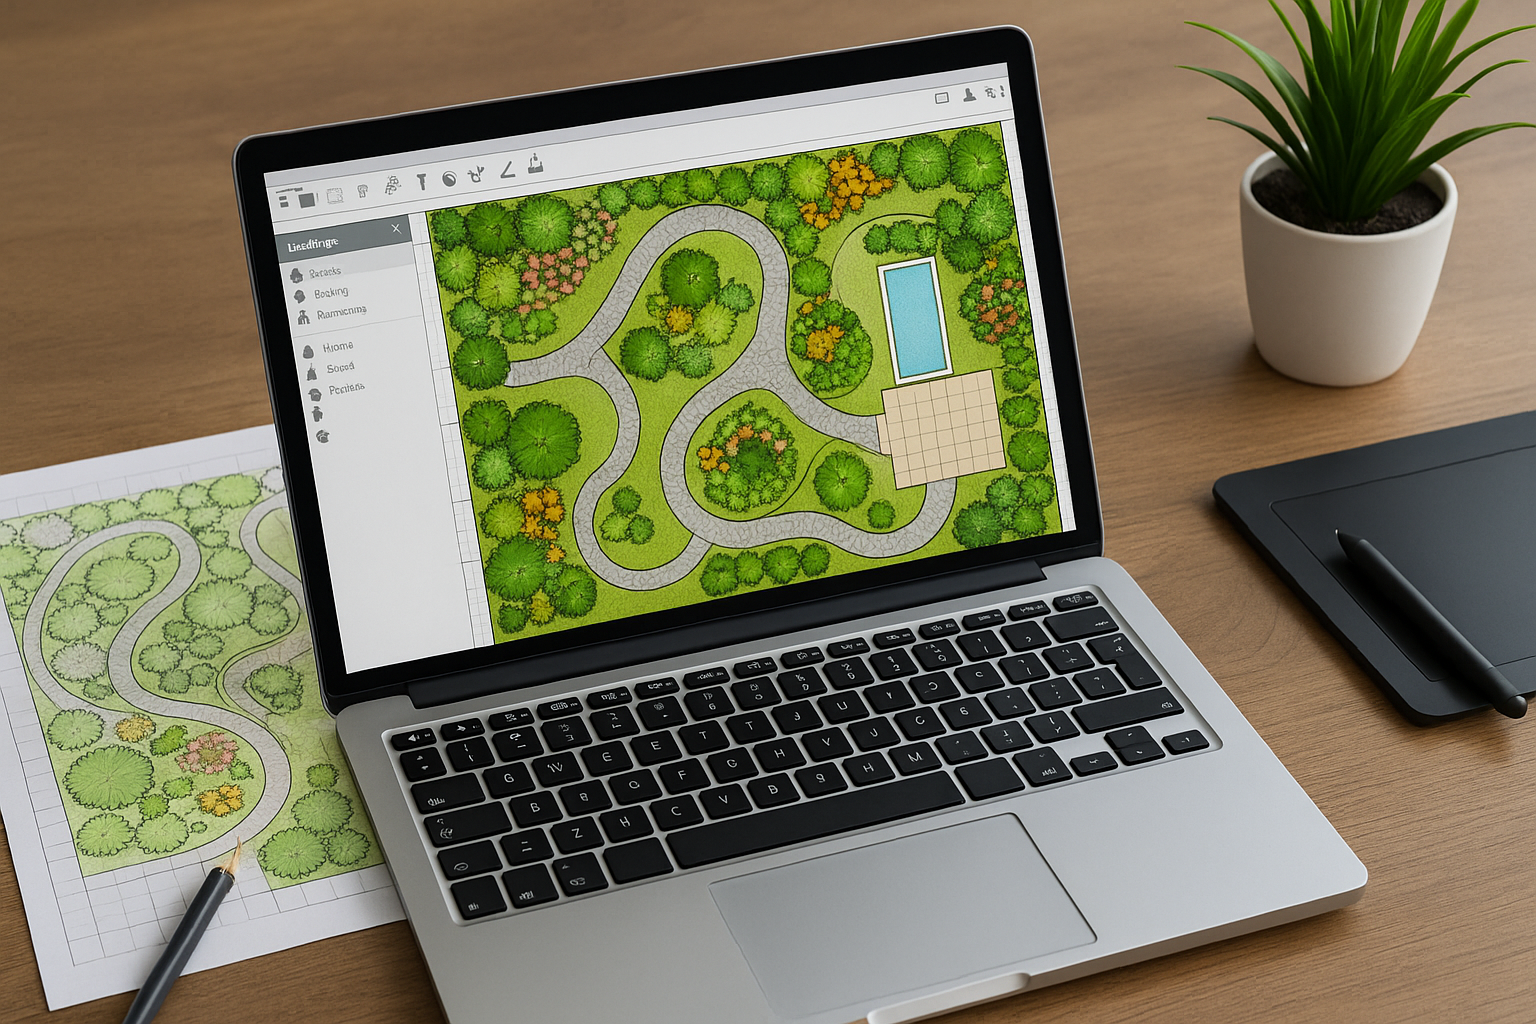
Landscape design software has turned yard planning from sketch-on-a-napkin to immersive, accurate visualizations. Whether you’re a homeowner dreaming of a new patio or a professional landscape architect producing client-ready plans, the right software saves time, reduces costly mistakes, and helps communicate ideas clearly.
Why Use Landscape Design Software?
Benefits for Homeowners
For homeowners, landscape design software provides a virtual preview of changes before breaking ground. You can test plant placements, experiment with materials, and see how hardscapes interact with existing structures. This lowers risk and helps set realistic expectations for cost and timeline.
Benefits for Professionals
Professionals gain tools for accurate site drawings, planting schedules, irrigation plans, and construction documents. Many programs offer depth—topographic modeling, drainage analysis, and integration with CAD or BIM workflows—allowing teams to collaborate and deliver precise proposals.
Key Features to Look For
3D Rendering and Visualization
High-quality 3D rendering lets you visualize light, shadows, and scale. Look for software that supports realistic textures, camera views, and walkthroughs—these features make concepts tangible for clients and reduce miscommunication.
Plant Libraries and Planting Tools
Comprehensive plant libraries that include mature size, sun needs, and hardiness zones simplify planting plans. Software that offers drag-and-drop plant placement, spacing alerts, and growth simulations helps create sustainable, long-lasting designs.
Site Measurement and Topography
Accurate site data is essential. Choose tools that accept imported site plans, drone surveys, or can trace property lines from aerial imagery. Contour editing and grading tools are especially valuable for sloped sites and drainage planning.
Cost Estimation and Materials Lists
Built-in cost calculators and material takeoffs save time during budgeting. Features that generate itemized lists—plants, pavers, soil volumes, irrigation parts—help produce realistic proposals and streamline purchasing.
Collaboration and Export Options
Look for formats such as DWG, PDF, and IFC support, or cloud-based sharing for client reviews. Collaborative commenting and versioning speed up approvals and reduce rework.
Top Landscape Design Software Options
SketchUp (with plugins)
SketchUp is flexible and popular for 3D design. Its intuitive interface and extensive plugin ecosystem allow users to add plant libraries, terrain tools, and rendering engines. It’s a solid choice if you want full creative control and integration with architectural workflows.
Vectorworks Landmark
Vectorworks Landmark is a professional-grade solution for landscape architects. It combines CAD precision with GIS, plant database management, and robust documentation tools—ideal for complex commercial or municipal projects.
PRO Landscape
PRO Landscape targets designers who need quick visuals and client presentations. It offers large plant libraries, photo imaging, and pricing tools—good for landscapers and small firms focused on sales and execution.
Realtime Landscaping (Plus/Pro)
Realtime Landscaping provides user-friendly 3D visualization and landscaping-specific features like terrain sculpting and realistic views. It’s suitable for homeowners, designers, and contractors who want strong visuals without a steep learning curve.
iScape (mobile)
iScape focuses on homeowners and designers who want to sketch ideas on a tablet. With augmented reality features, it lets you place plants and hardscapes in real-time over a live camera view—great for quick concepting and on-site discussion.
How to Choose the Right Software
Assess Your Skill Level
Beginners should prioritize intuitive interfaces and strong templates. Professionals need software that supports drafting standards, scalable output, and integrations with other design tools.
Set Your Budget
Costs range from free or low-cost apps to high-end subscriptions. Consider licensing (per-user, perpetual, or subscription) and the cost of necessary plugins or content libraries.
Evaluate Compatibility
Check file export/import options so your work can be shared with clients, contractors, or colleagues using CAD, GIS, or BIM tools. Mobile and cloud access can be a big plus for on-site updates.
Tips for Getting Started
Start with a Site Survey
Collect accurate measurements, photos, and notes about soil, drainage, and sun exposure. Good input data means better output and fewer surprises during installation.
Use Templates and Tutorials
Leverage templates to speed up early stages and rely on vendor tutorials to flatten the learning curve. Many platforms offer sample projects, video guides, and active user communities.
Iterate and Test
Create multiple concepts to compare materials, layouts, and budgets. Iteration often reveals better solutions than the first idea.
Conclusion
Landscape design software empowers both homeowners and professionals to plan, visualize, and deliver outdoor projects with confidence. Choosing the right tool depends on your goals, budget, and workflow—pick one that balances usability with the features you need, and start with accurate site data and incremental testing.